Note the preset bundle I participated in ended on March 3rd, but you can still shop our photo presets anytime through our preset shop.
This is one of the craziest ‘bundles’ I’ve ever seen…and what’s more, I’m part of it! If you’re wondering what a bundle is, it’s a collection of creative goods — in this case, photography presets — bundled together and sold at a discounted rate. As a content creator and photographer, I sell my photography presets (which are basically photo filters) for Lightroom desktop and mobile on my online shop. If you’re not sure what Lightroom presets are, read this.
I’m participating in this bundle for a number of reasons: to reach a new audience, to give back, to collaborate with other content creators, and to learn something myself! I dove into The Preset Bundle today for a few hours to play around with other creator’s presets. Keep in mind, for most of the people involved in this collaboration (@doyoutravel, @eljackson, @elsas_wholesomelife, to name a few), these are the presets they have created and perfected over a series of years. They’re also very different from my own! And if there’s one thing I’ve learned from being a ‘content creator’, it’s that I’m constantly learning.
Here’s how I’ve been using the bundle so far, and how I plan to use it moving forward. Hopefully, this blog post will make the bundle feel a bit less daunting if you’ve purchased it (there’s a lot in there!). And if you haven’t grabbed it yet…hurry! It’s only available for a few days.
I Imported The 5 Collections I Was Most Excited About
I have personally followed a number of content creators on Instagram over the years, and have always aspired to improve my photos. I tend to be attracted to pastels, film grain, and vintage looks. I’m always looking for ways I can get better at creating these looks, so I was especially excited to try out presets from @elsas_wholesomelife and @haylsa. It’s interesting seeing how different photographers make use of Lightroom’s different tools. I pay close attention to the ‘Tone Curve’ and ‘HSL/Color’ panel in Lightroom, and tend to tweak these the most after applying a preset. Generally, tone curves can add lifted shadows and a more film-like look to photos. Adjusting color allows me to edit skin tones, so it’s important if there’s a subject in your photo.
I Used Lightroom Desktop (Not Mobile) To Try Out New Presets
It’s a much faster process to import desktop presets. When using Lightroom on your desktop, you also have more control over editing. Since I shoot photos in RAW format, the file sizes are larger and have more information than JPEG photos. Read this post to learn more about how we shoot and edit photos.
I limited myself to one hour and narrowed down my favorite 6-8 presets
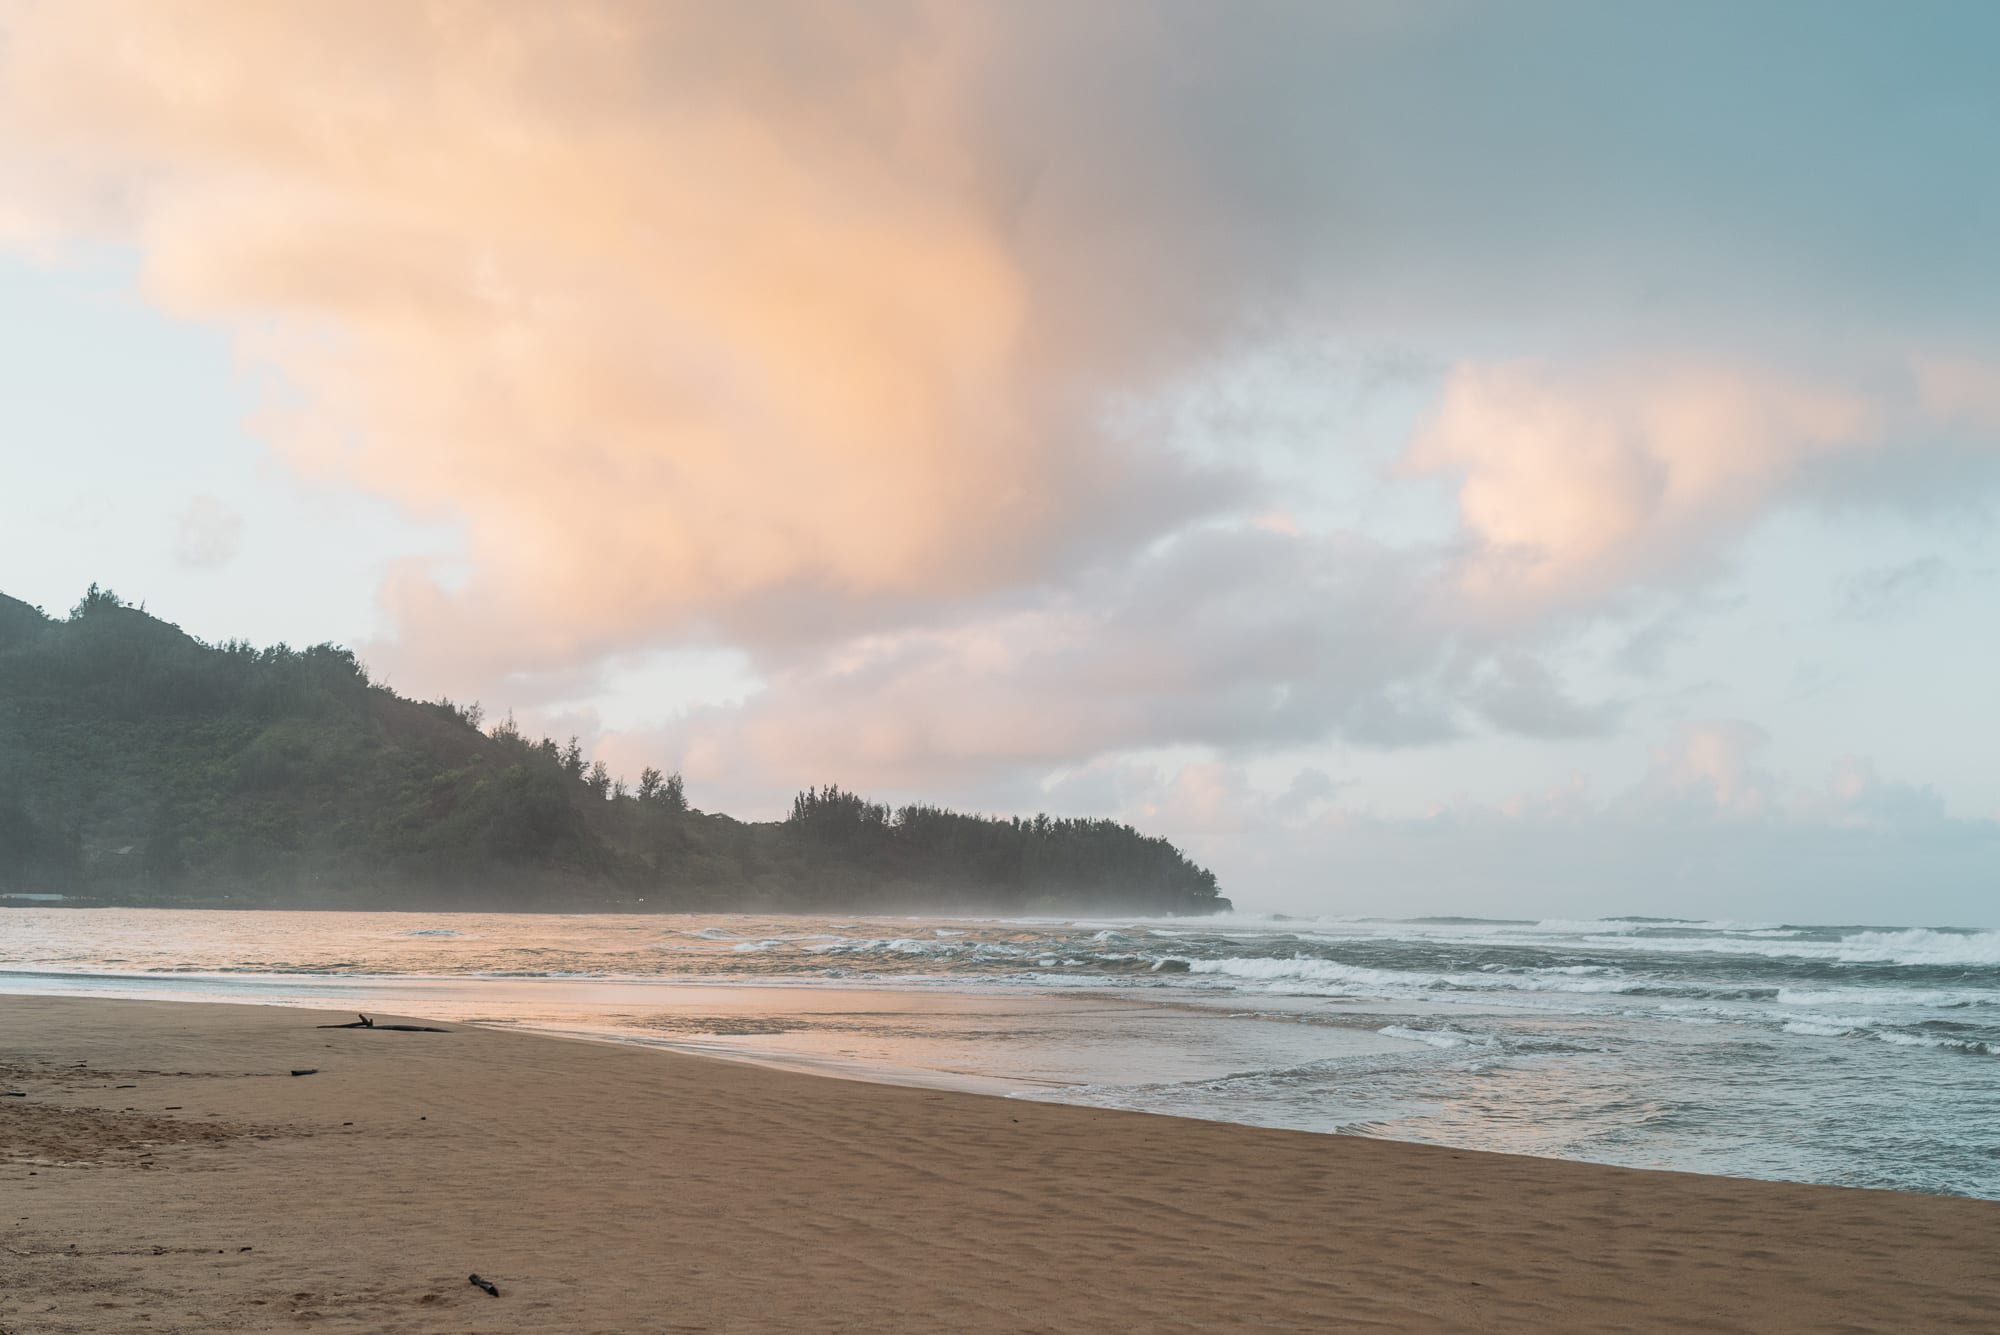
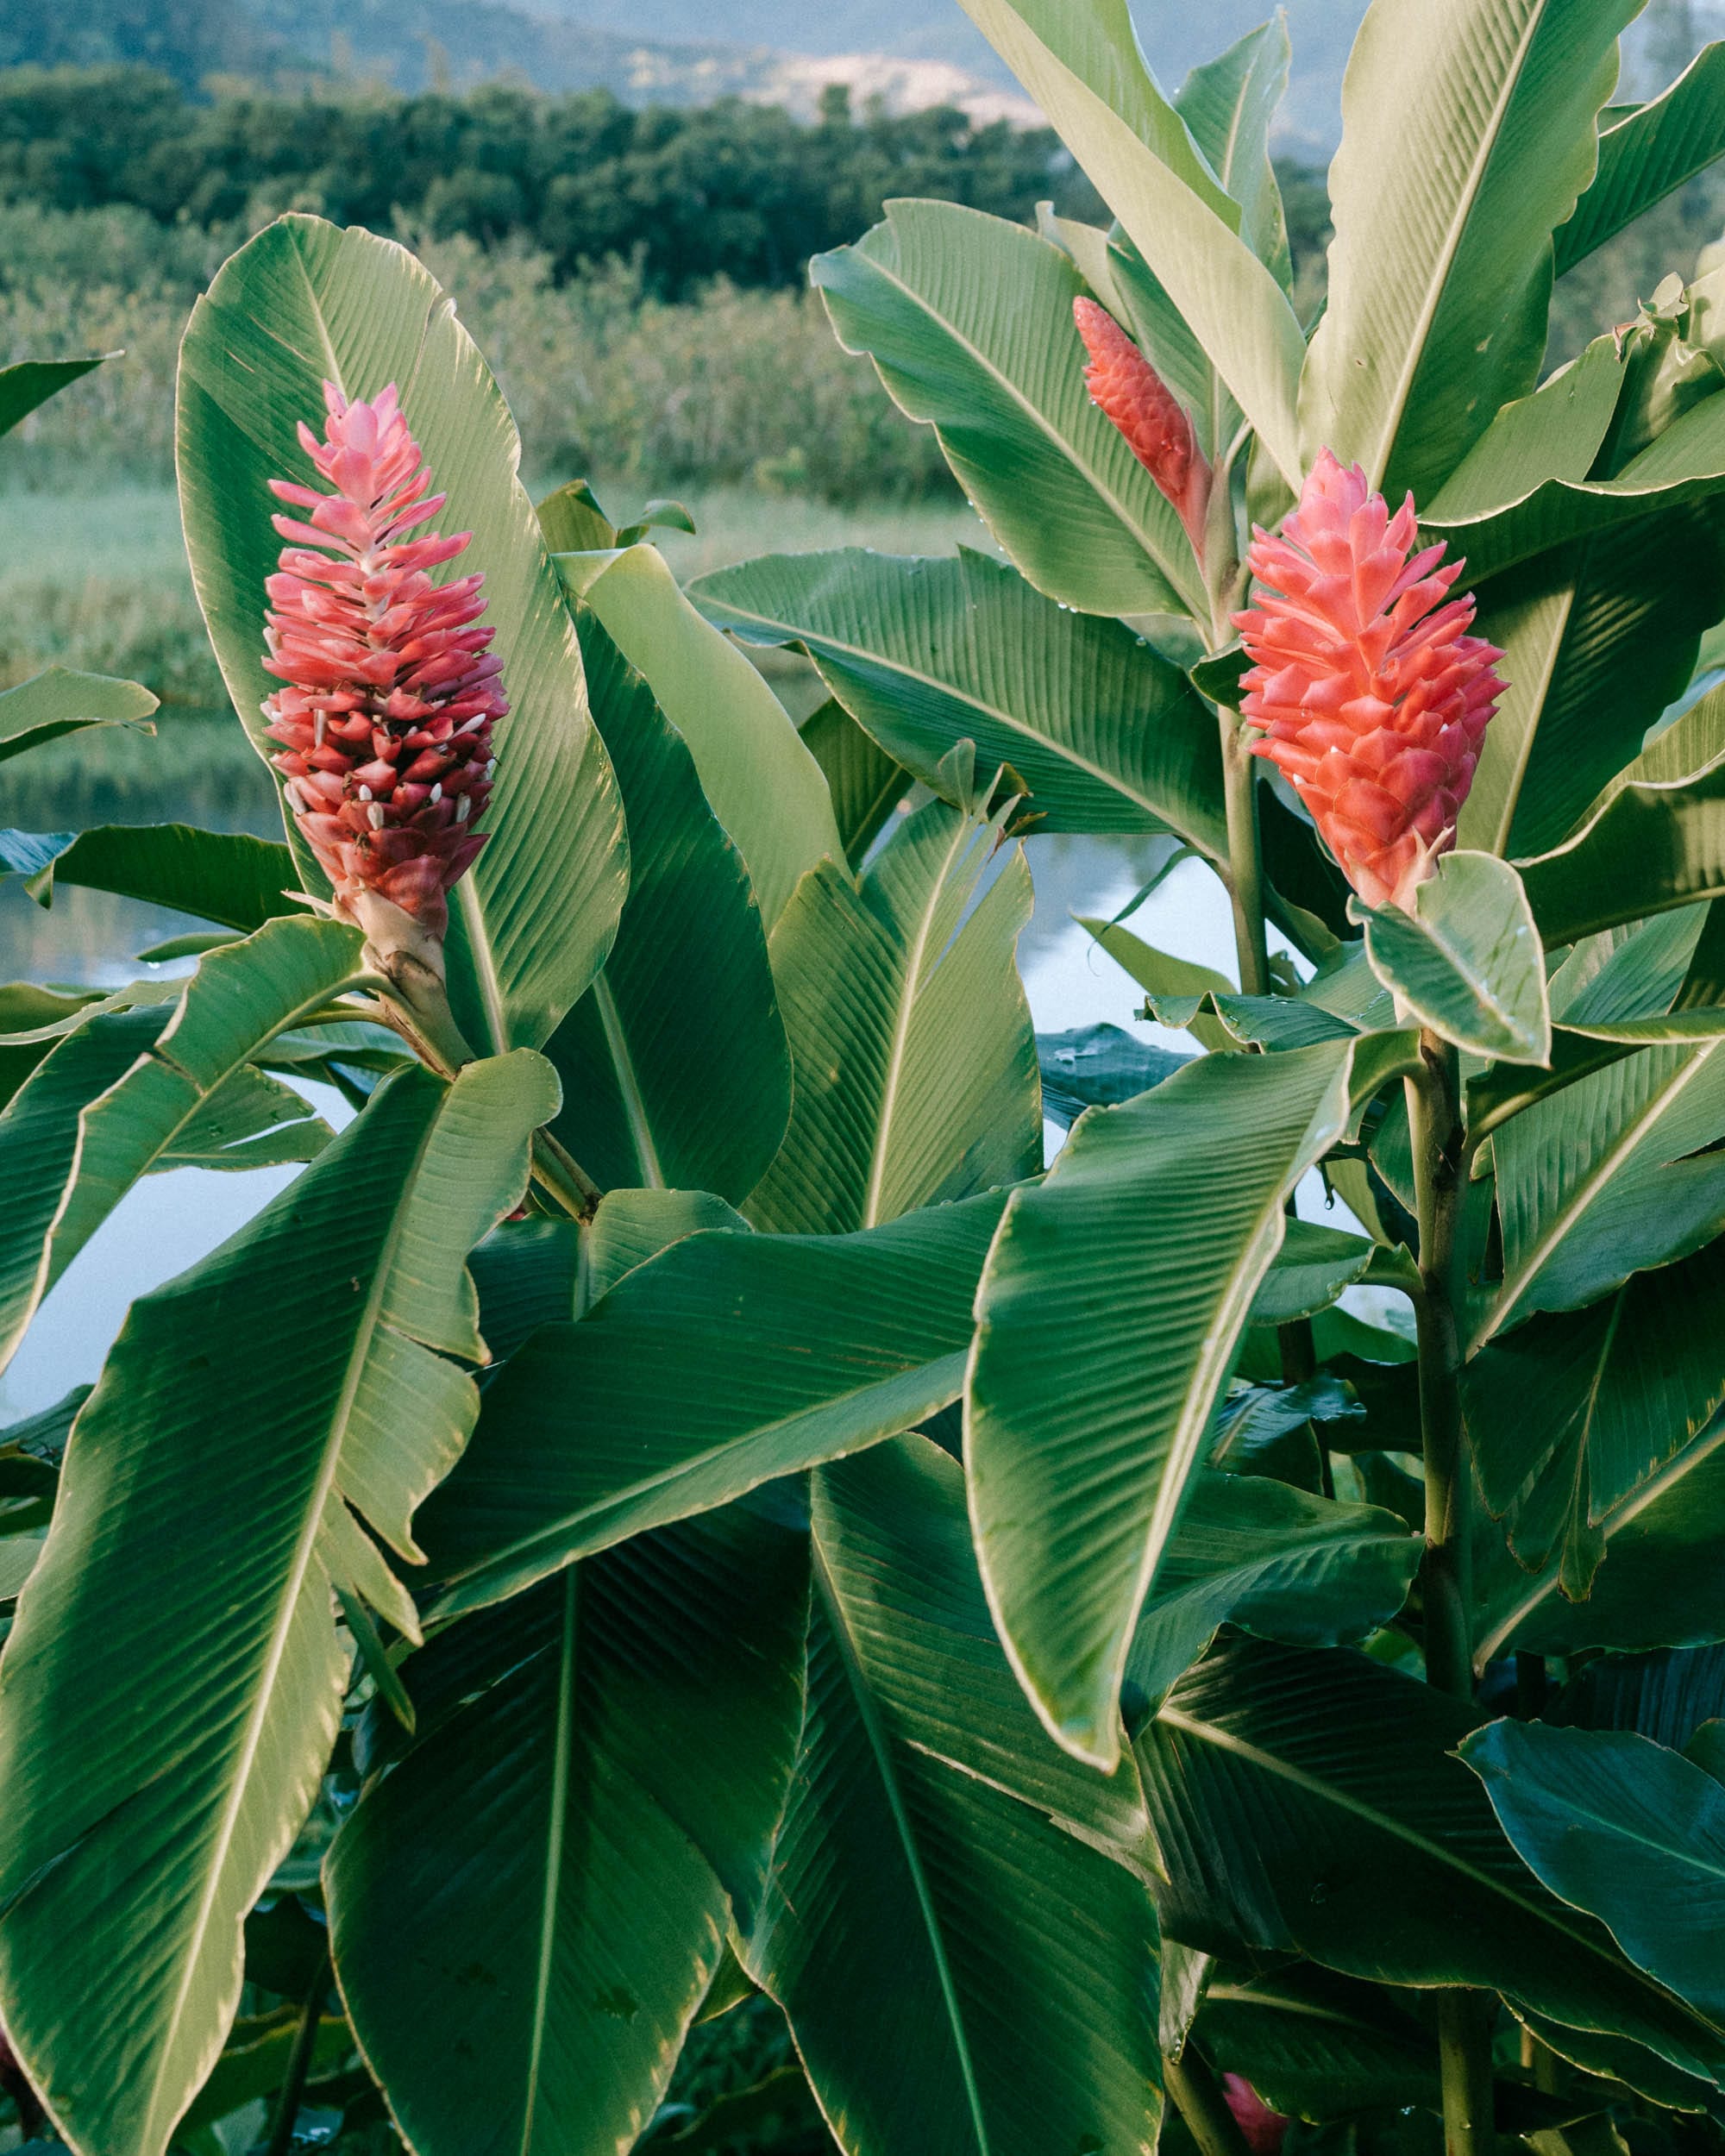
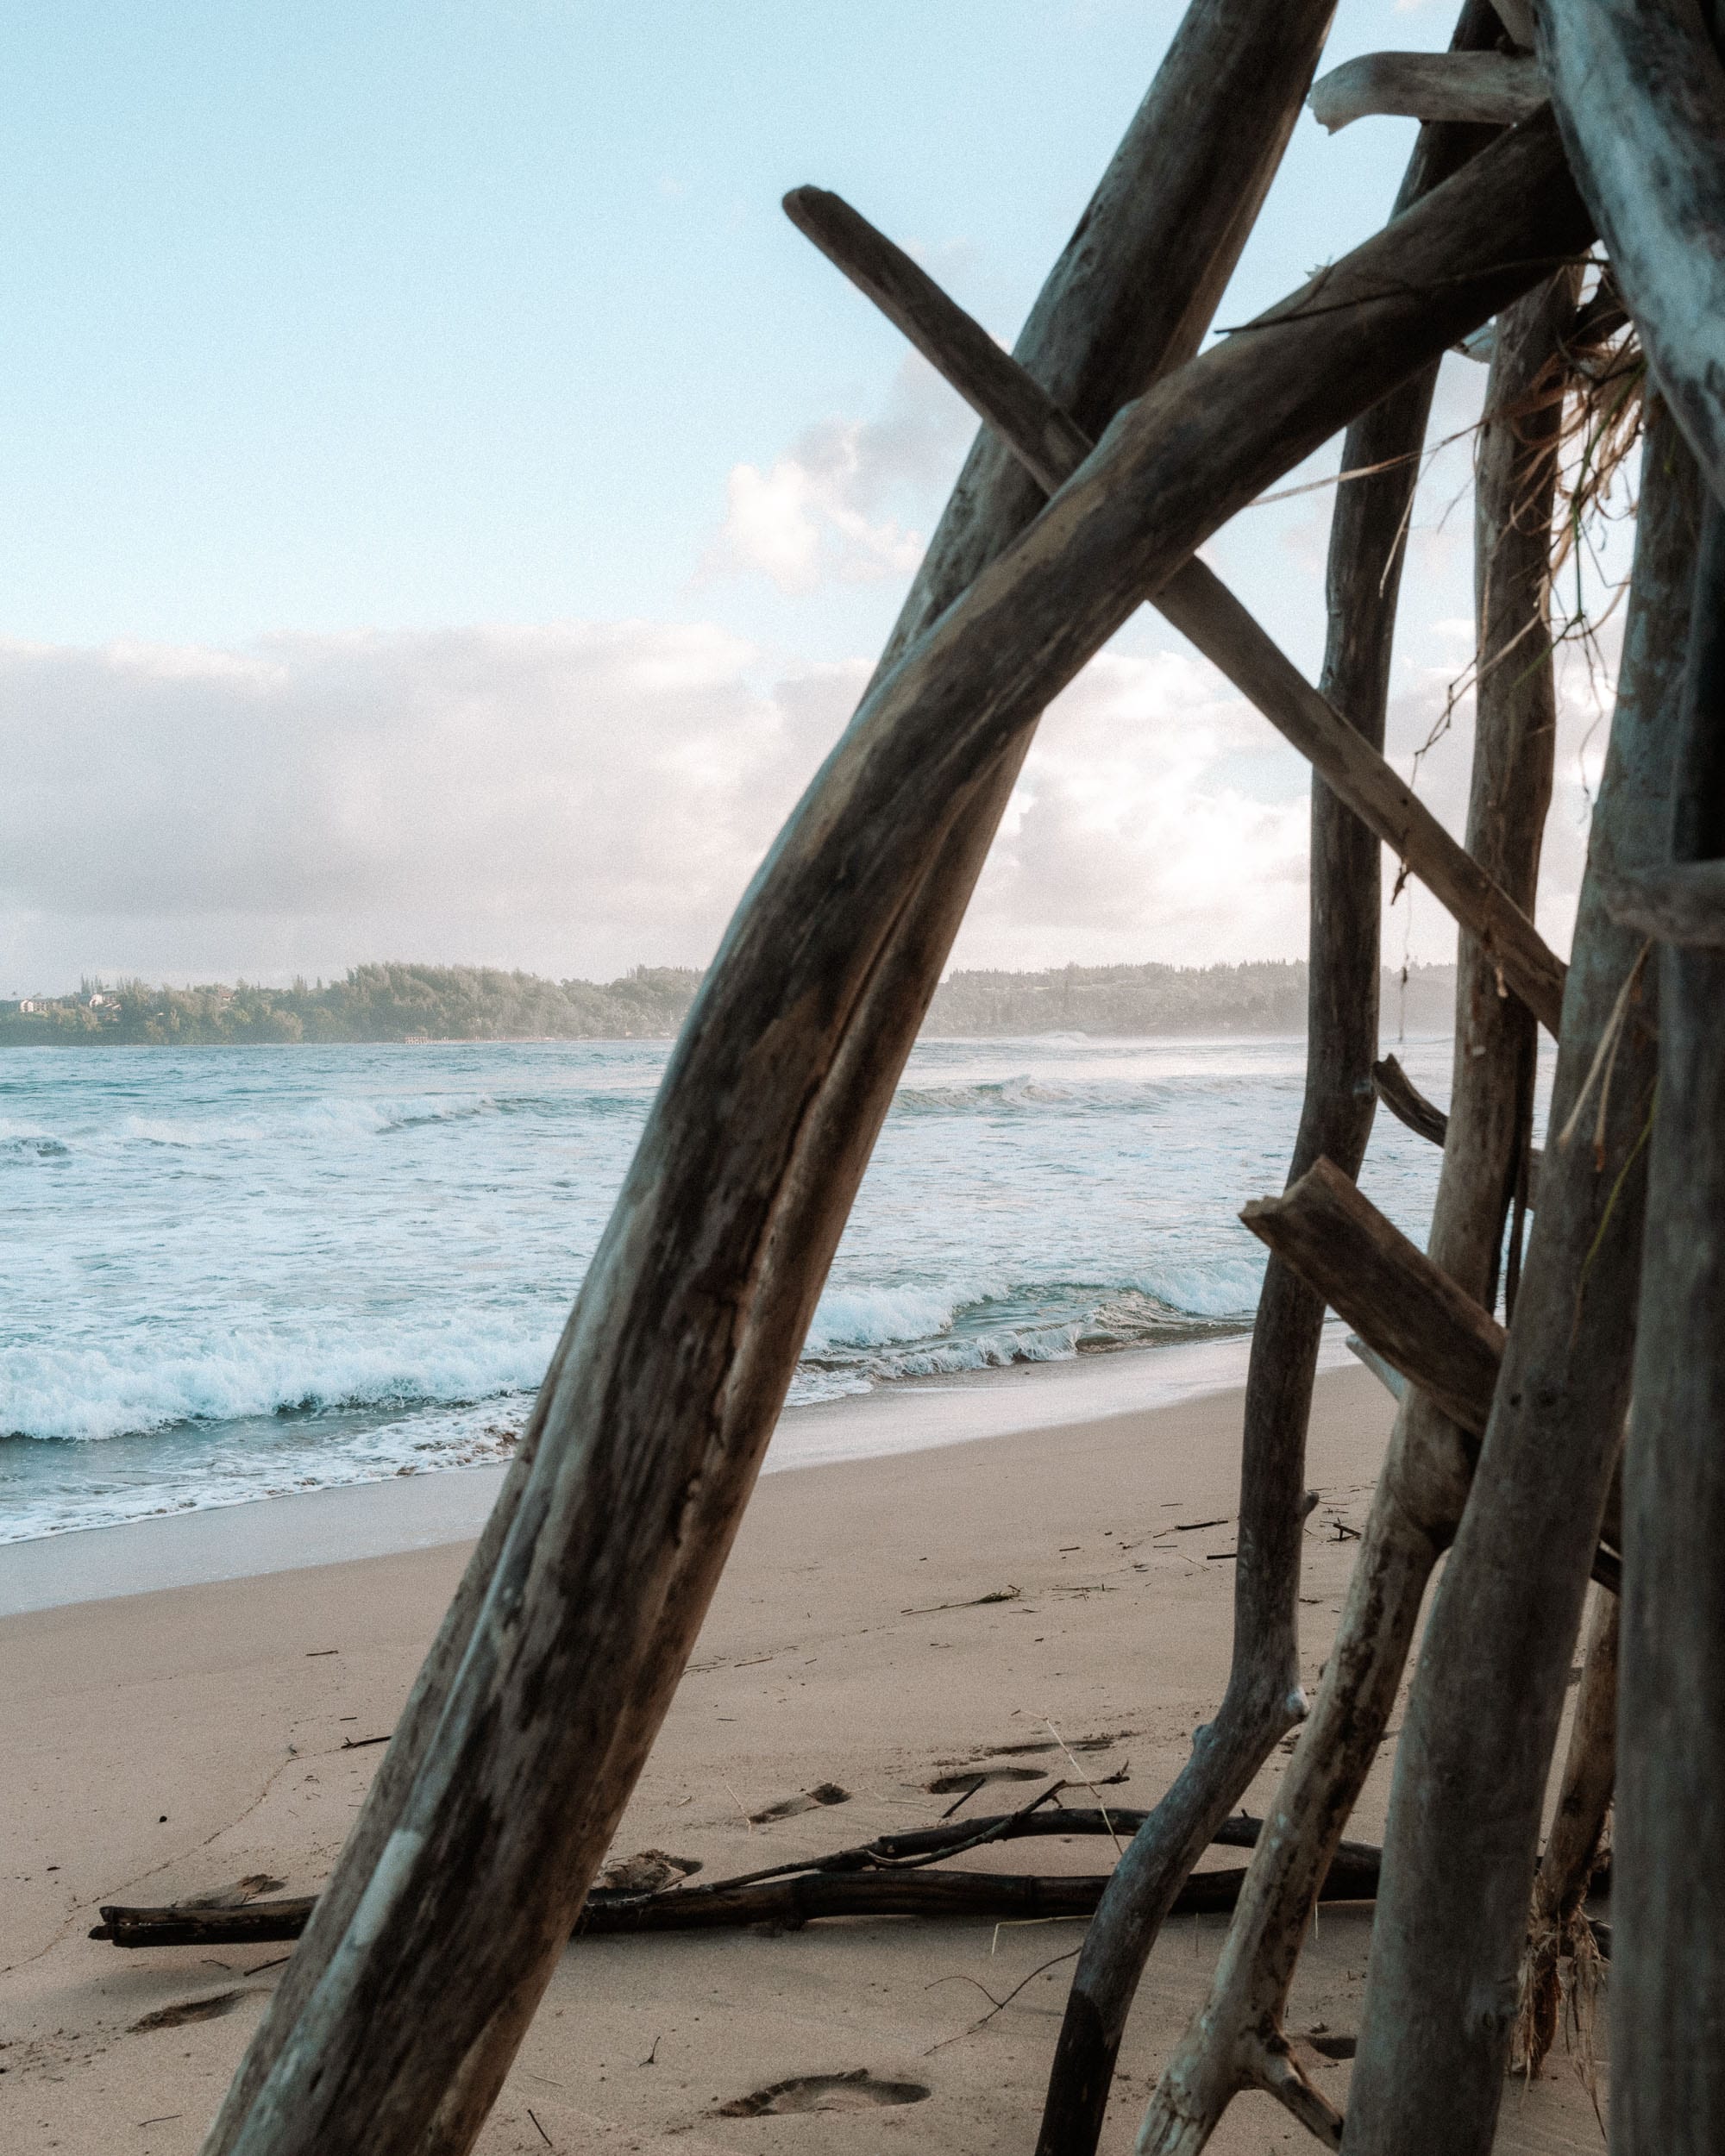
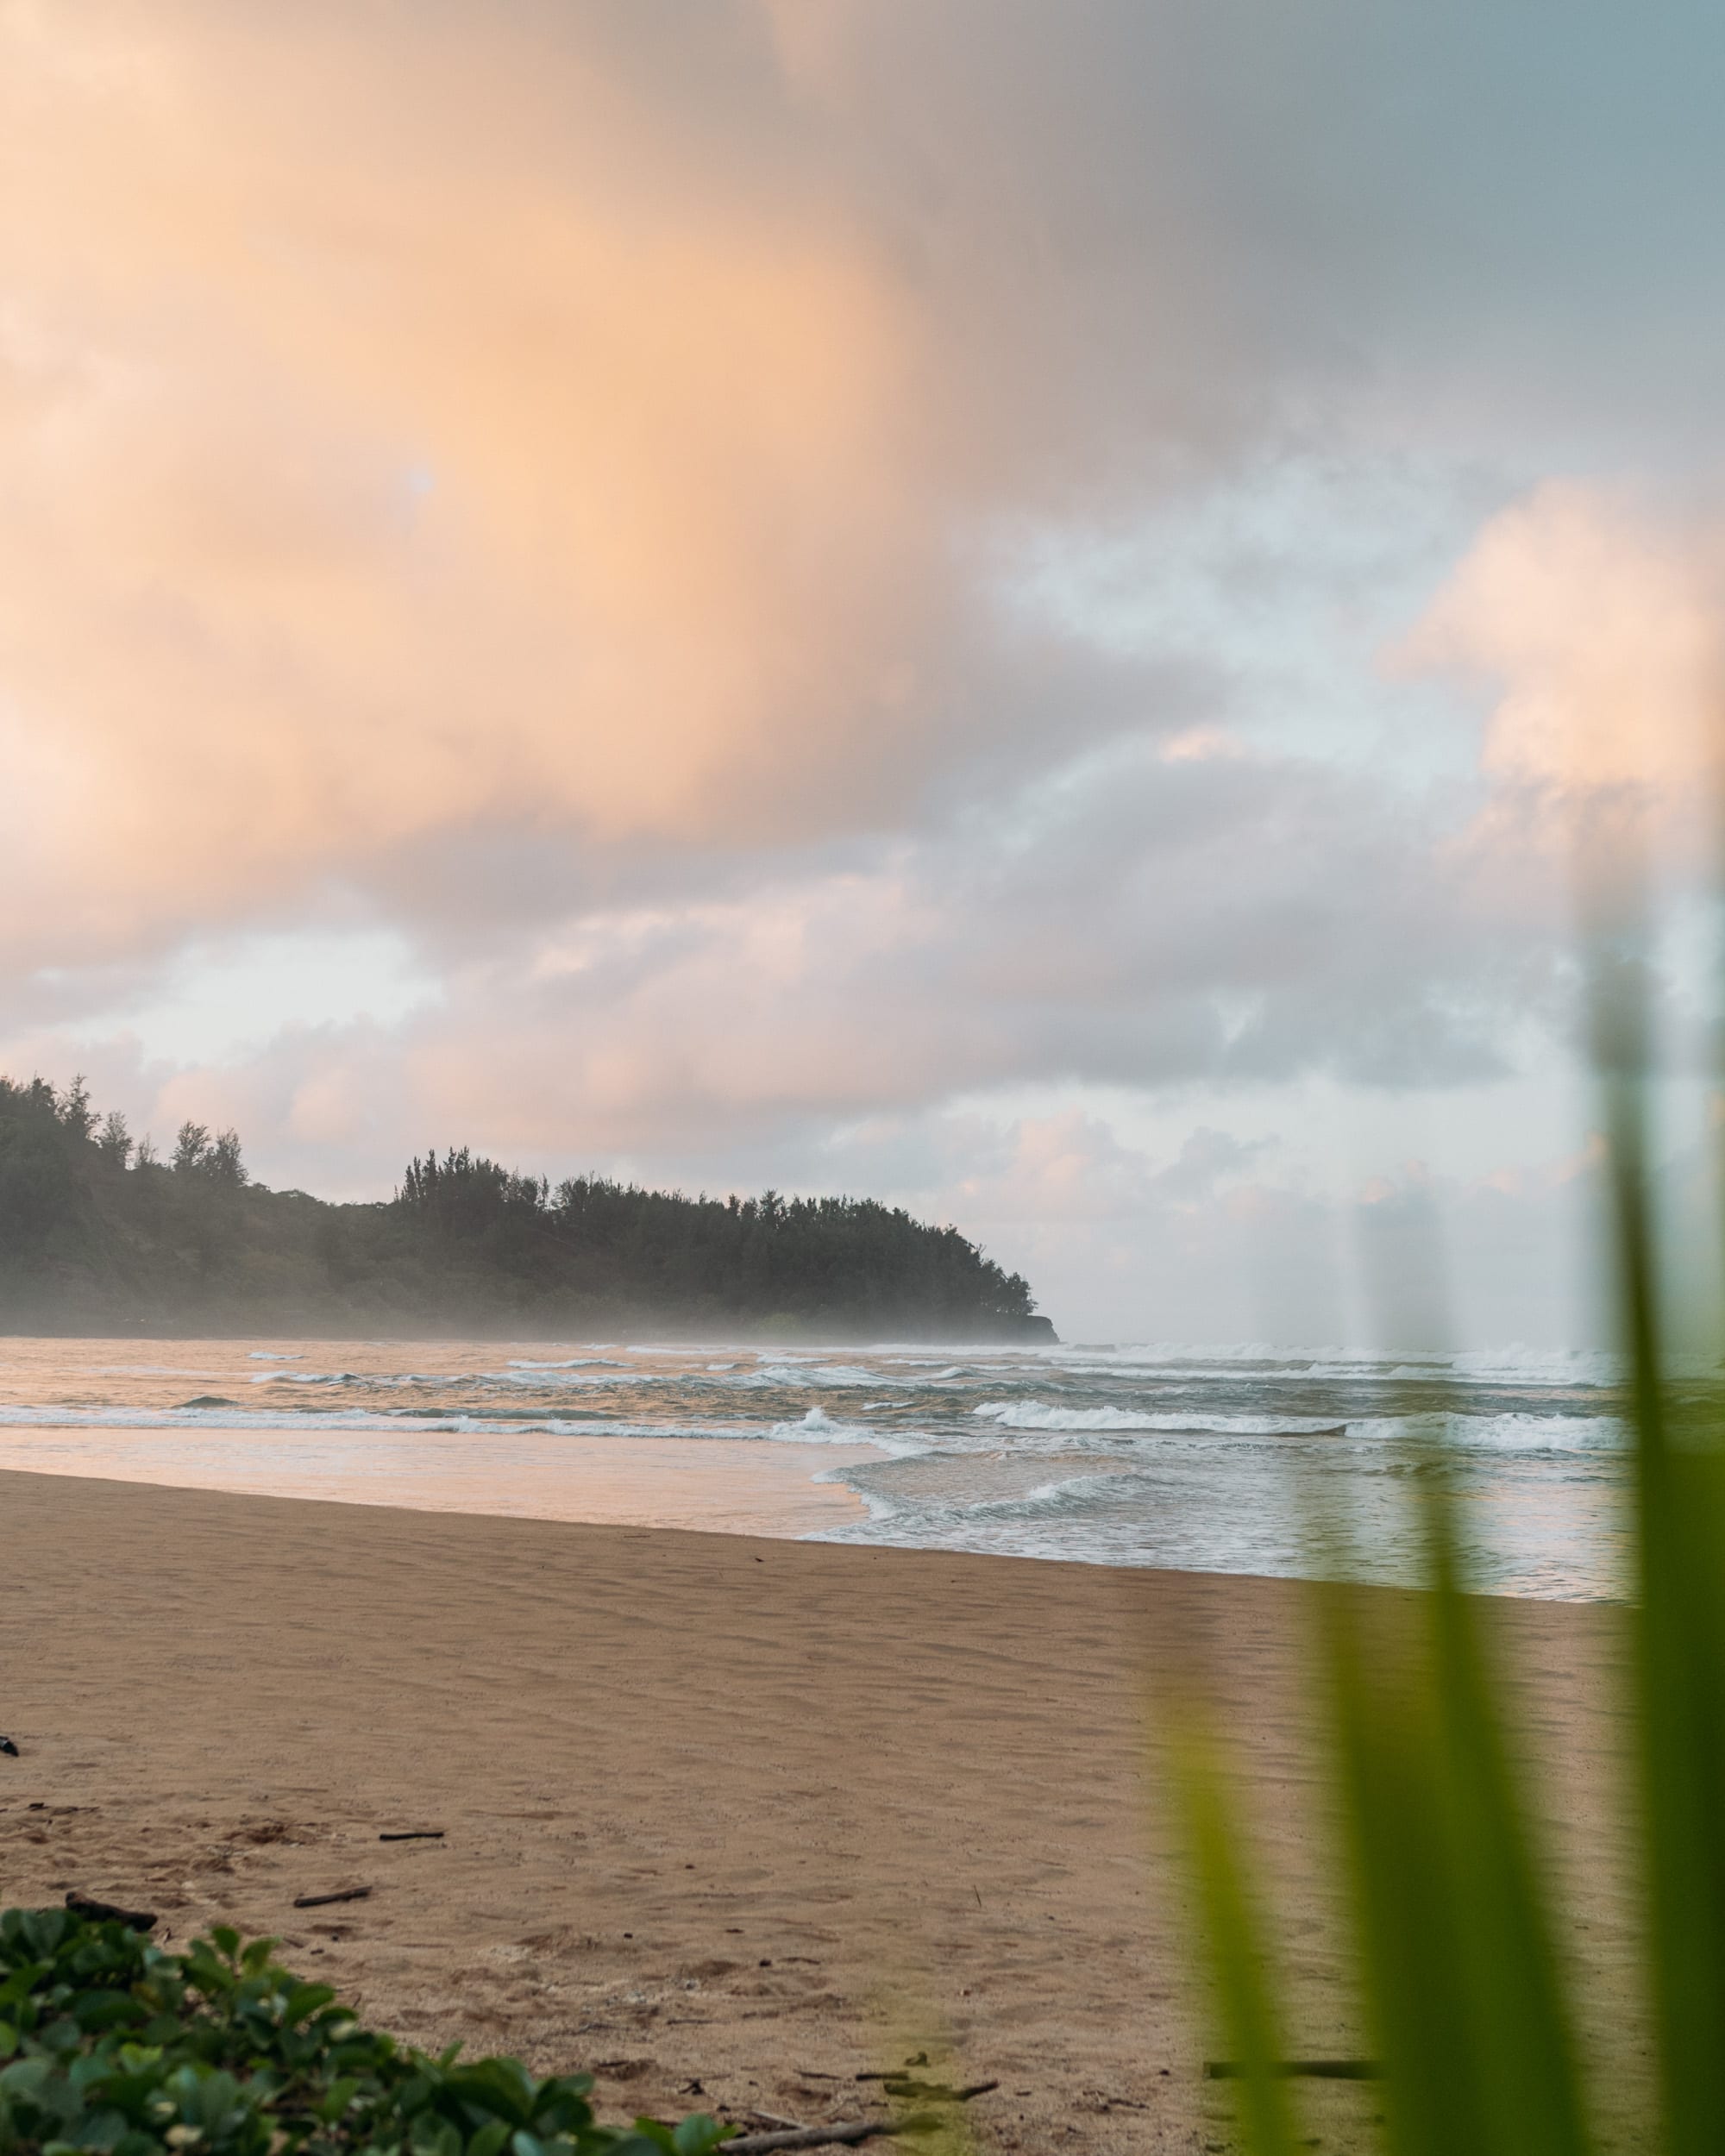
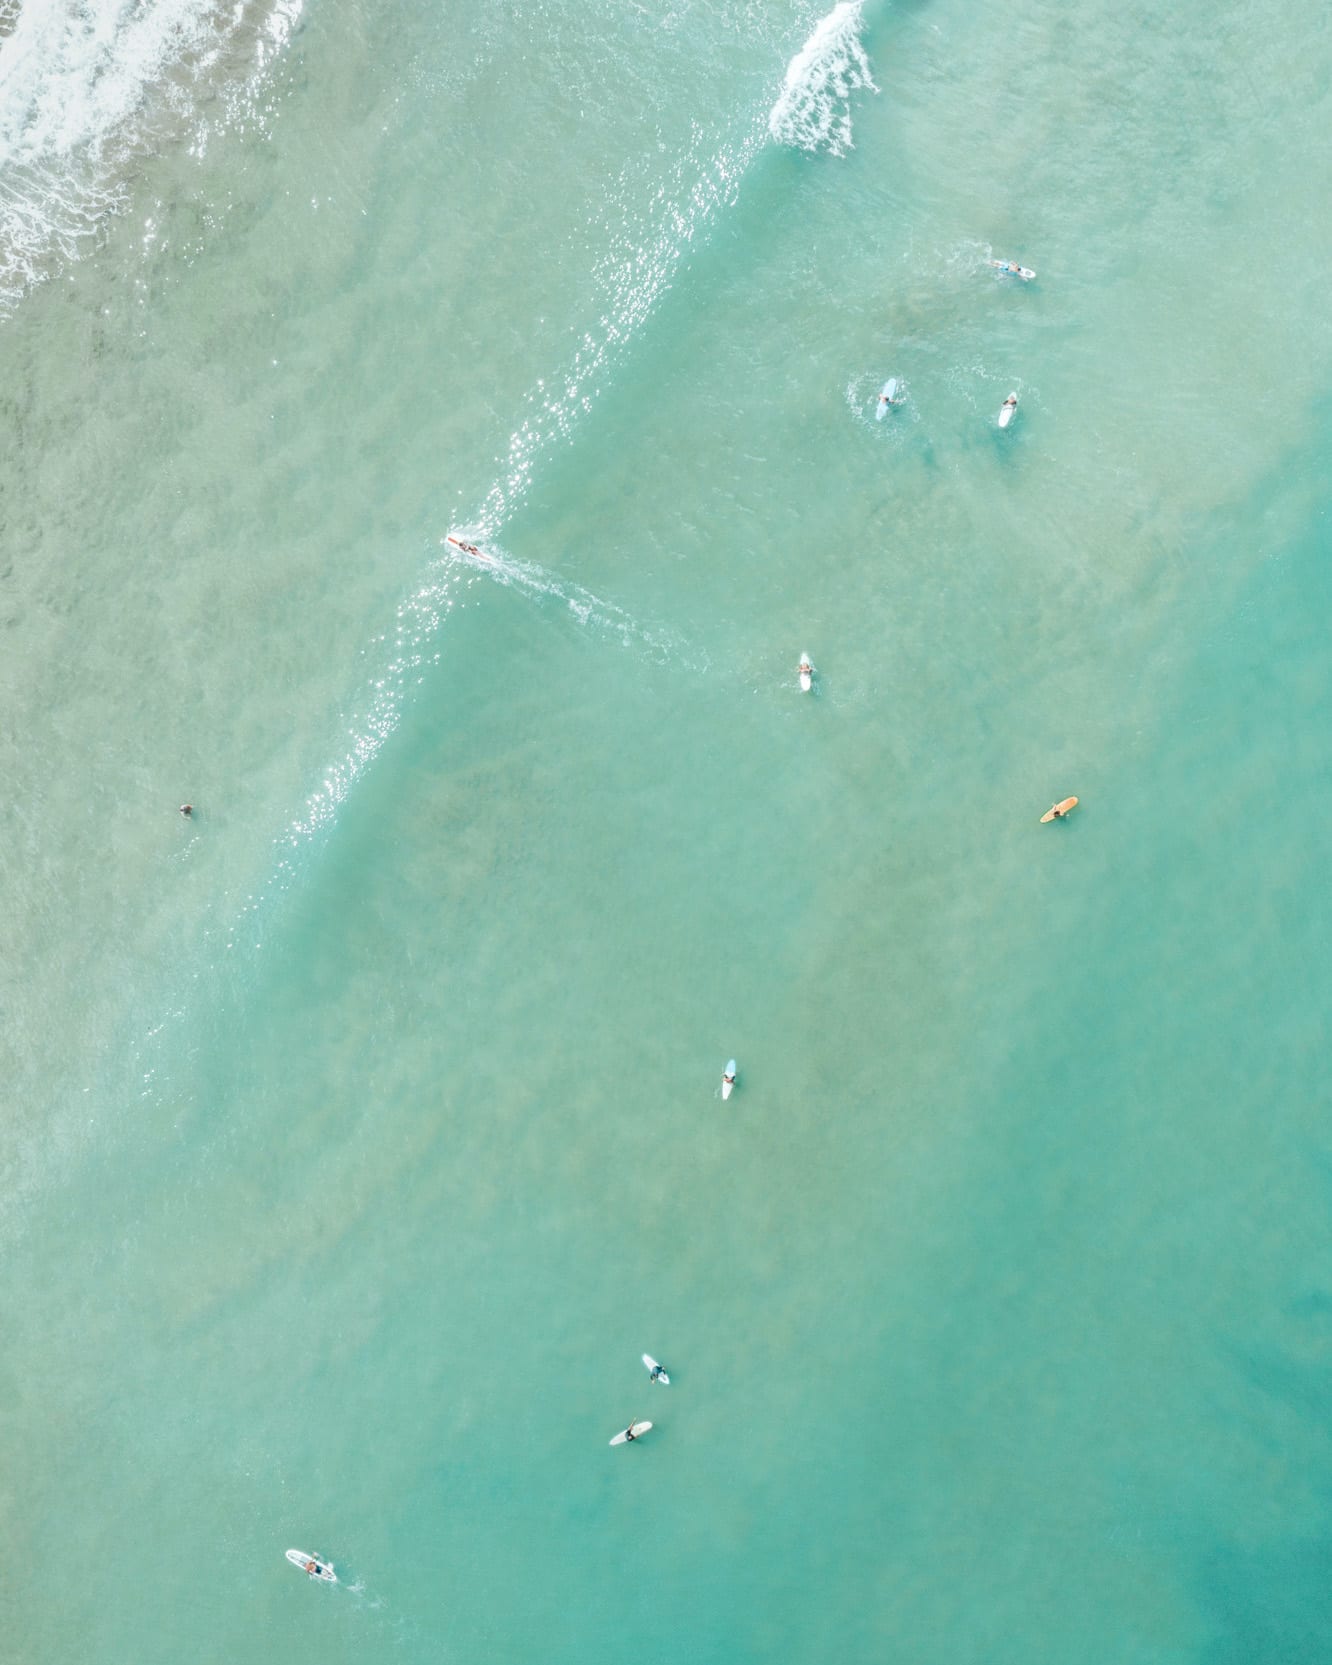
Presets can be great for keeping consistency, but when you have too many, it’s actually harder to keep a consistent look! I tend to overthink coloring when a lot of options are presented to me. So, I gave myself one hour only to play around with my new presets from the bundle. I used a series of unedited photos from Kauai to try out different color styles, and found a handful of presets I loved. Here are a few of them, below:
Edited using ‘Vintage Vibes’ by @elsas_wholesomelife
Edited using ‘Grain’ by @gypsea_lust
Edited using ‘Balloon’ by @hxepresets
Edited with my own Greek Islands Collection presets in the bundle. More photos examples here.
If I can give you one piece of advice on how to use presets to develop your own style, it’s to save these 6-8 presets in a new ‘collection’ in your Lightroom, and adjust them as you see fit. Once you apply them to a photo and make a few tweaks, you can right click on the preset and hit ‘Update with current settings’. That way, the preset is saved with your edits. And you’re on your way to developing your own aesthetic!
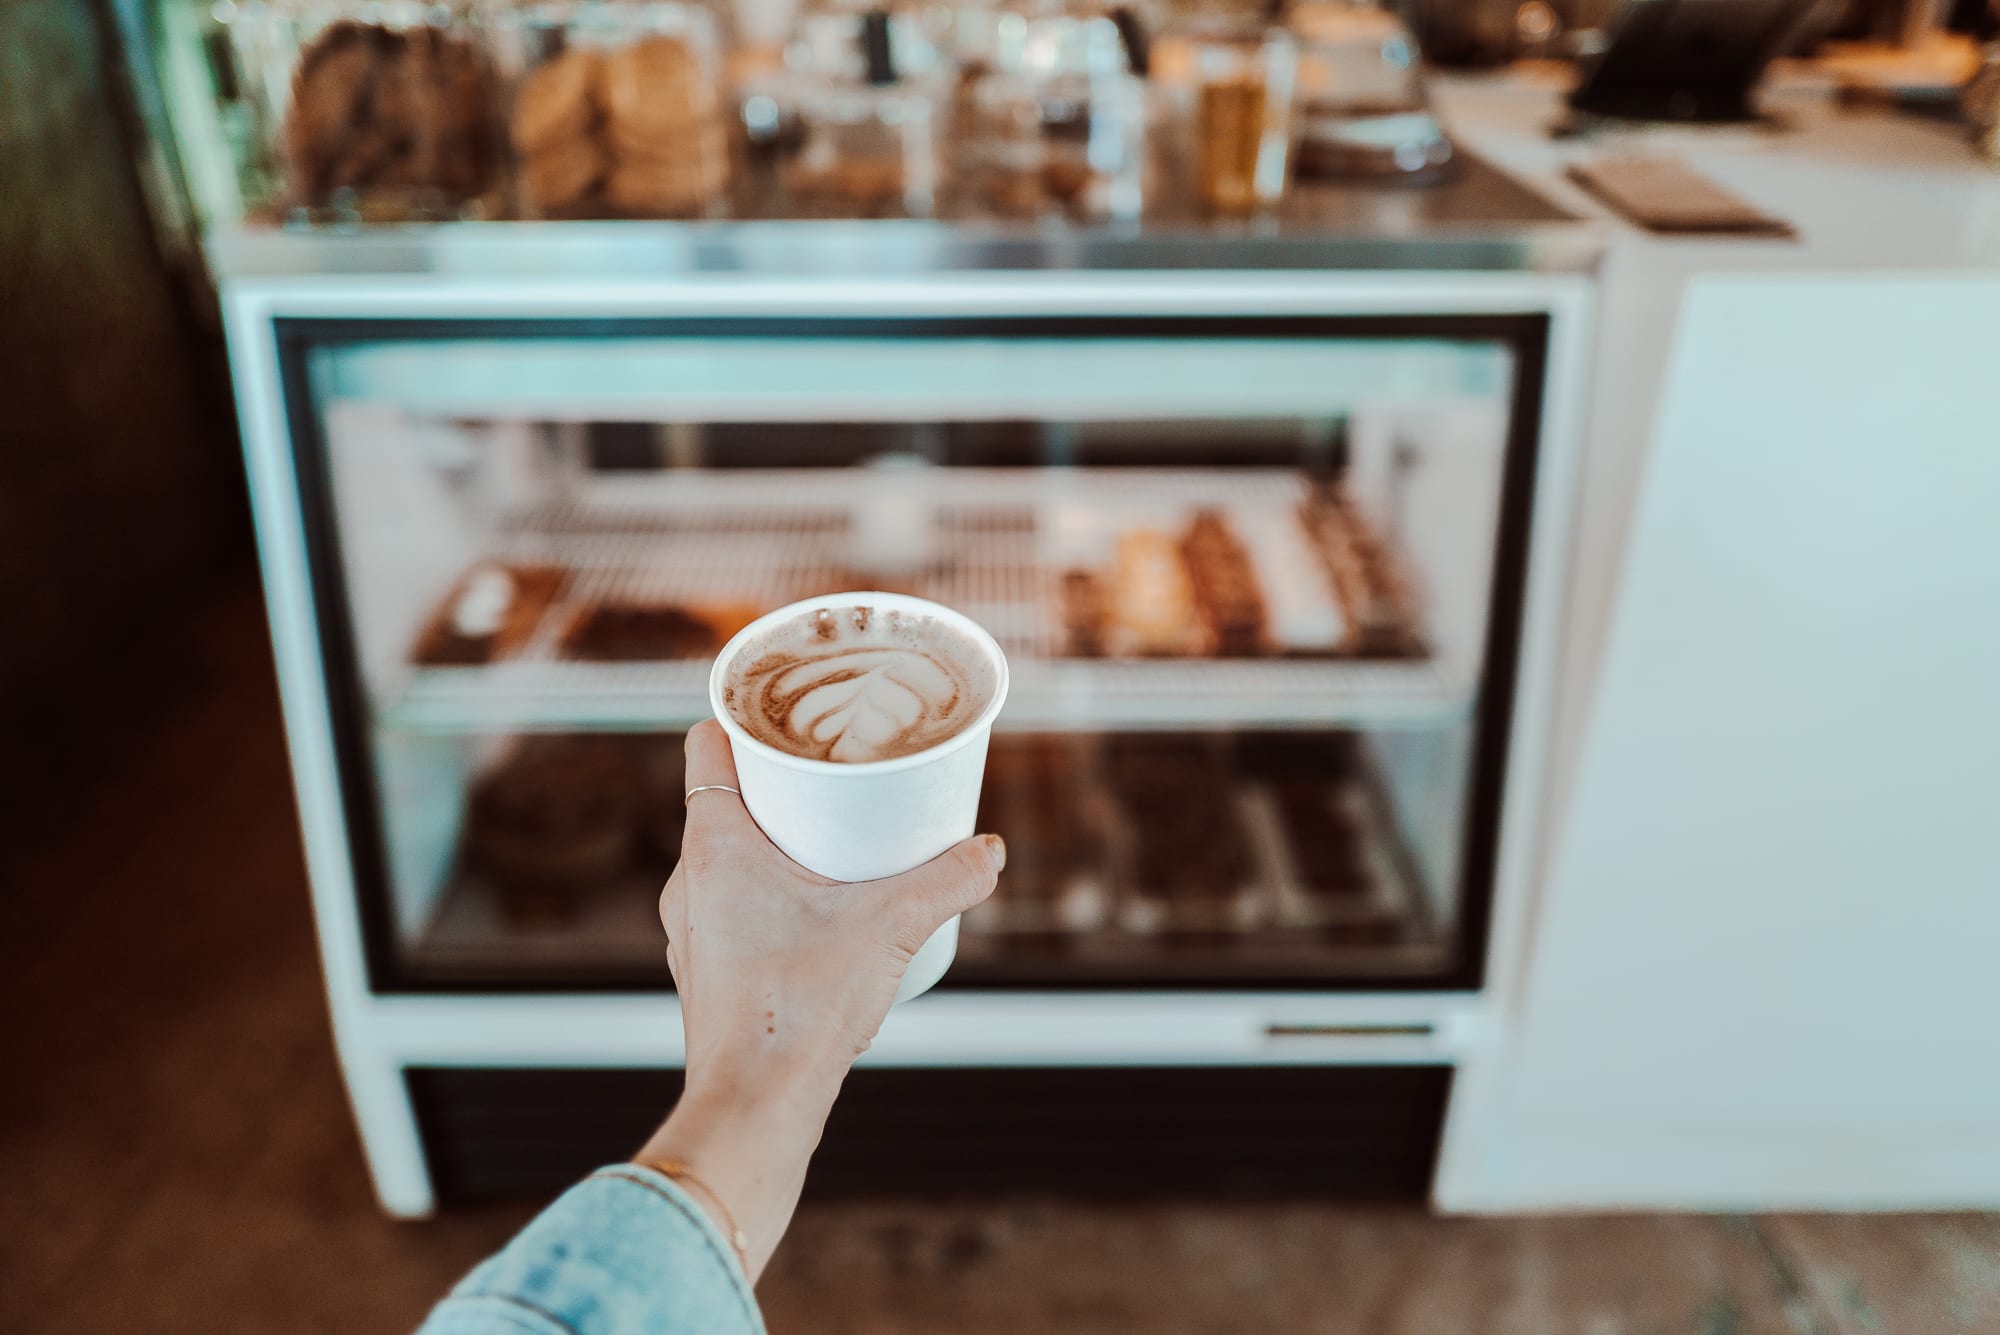
Edited using ‘3’ by @haylsa
Some of my favorite presets from The Preset Bundle:
@elsas_wholesomelife pop food, tropical vibes
@gypsea_lust tropical/beach, grain
@hxepresets balloon, huskies
@doyoutravel deep jungle
@haylsa 2, 9
P.S. in case you haven’t heard, I’m also choosing one winner who purchases the bundle using my link to receive $1,000 in flight credit to book their summer travel! So don’t wait 😉
Click Here To Shop The Preset Bundle


