

 Organizing travel photos can be a daunting task. If you’re like us, you might have photos from a trip taken 5 years ago that you never got around to doing anything with. Either the photos were never organized, they were imported into a different program, or they got moved off of your computer for lack of space. They might even be on an old hard drive you’d forgotten about until this moment!
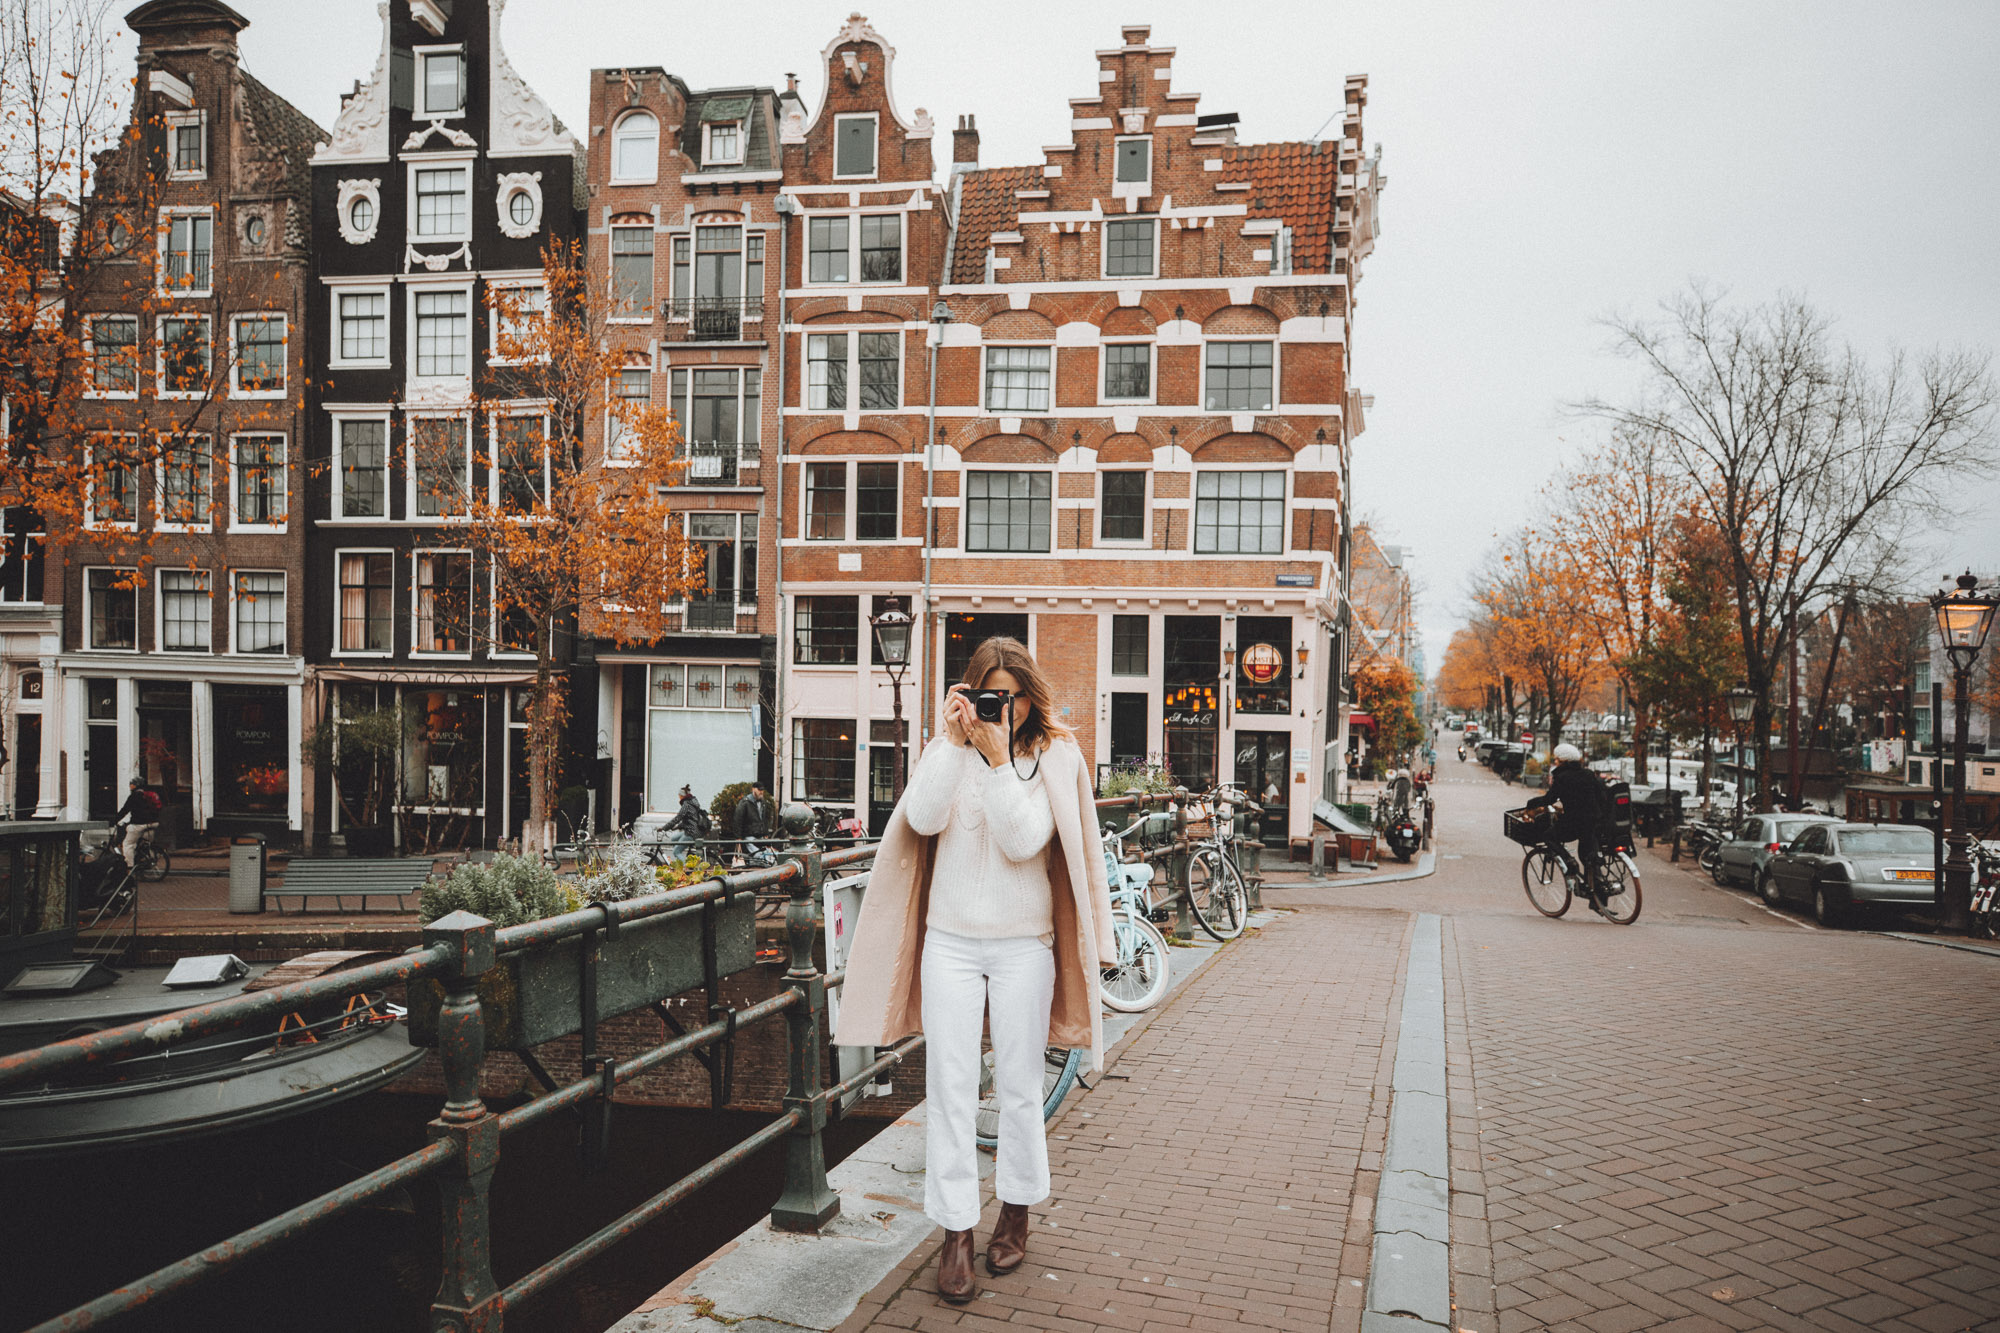
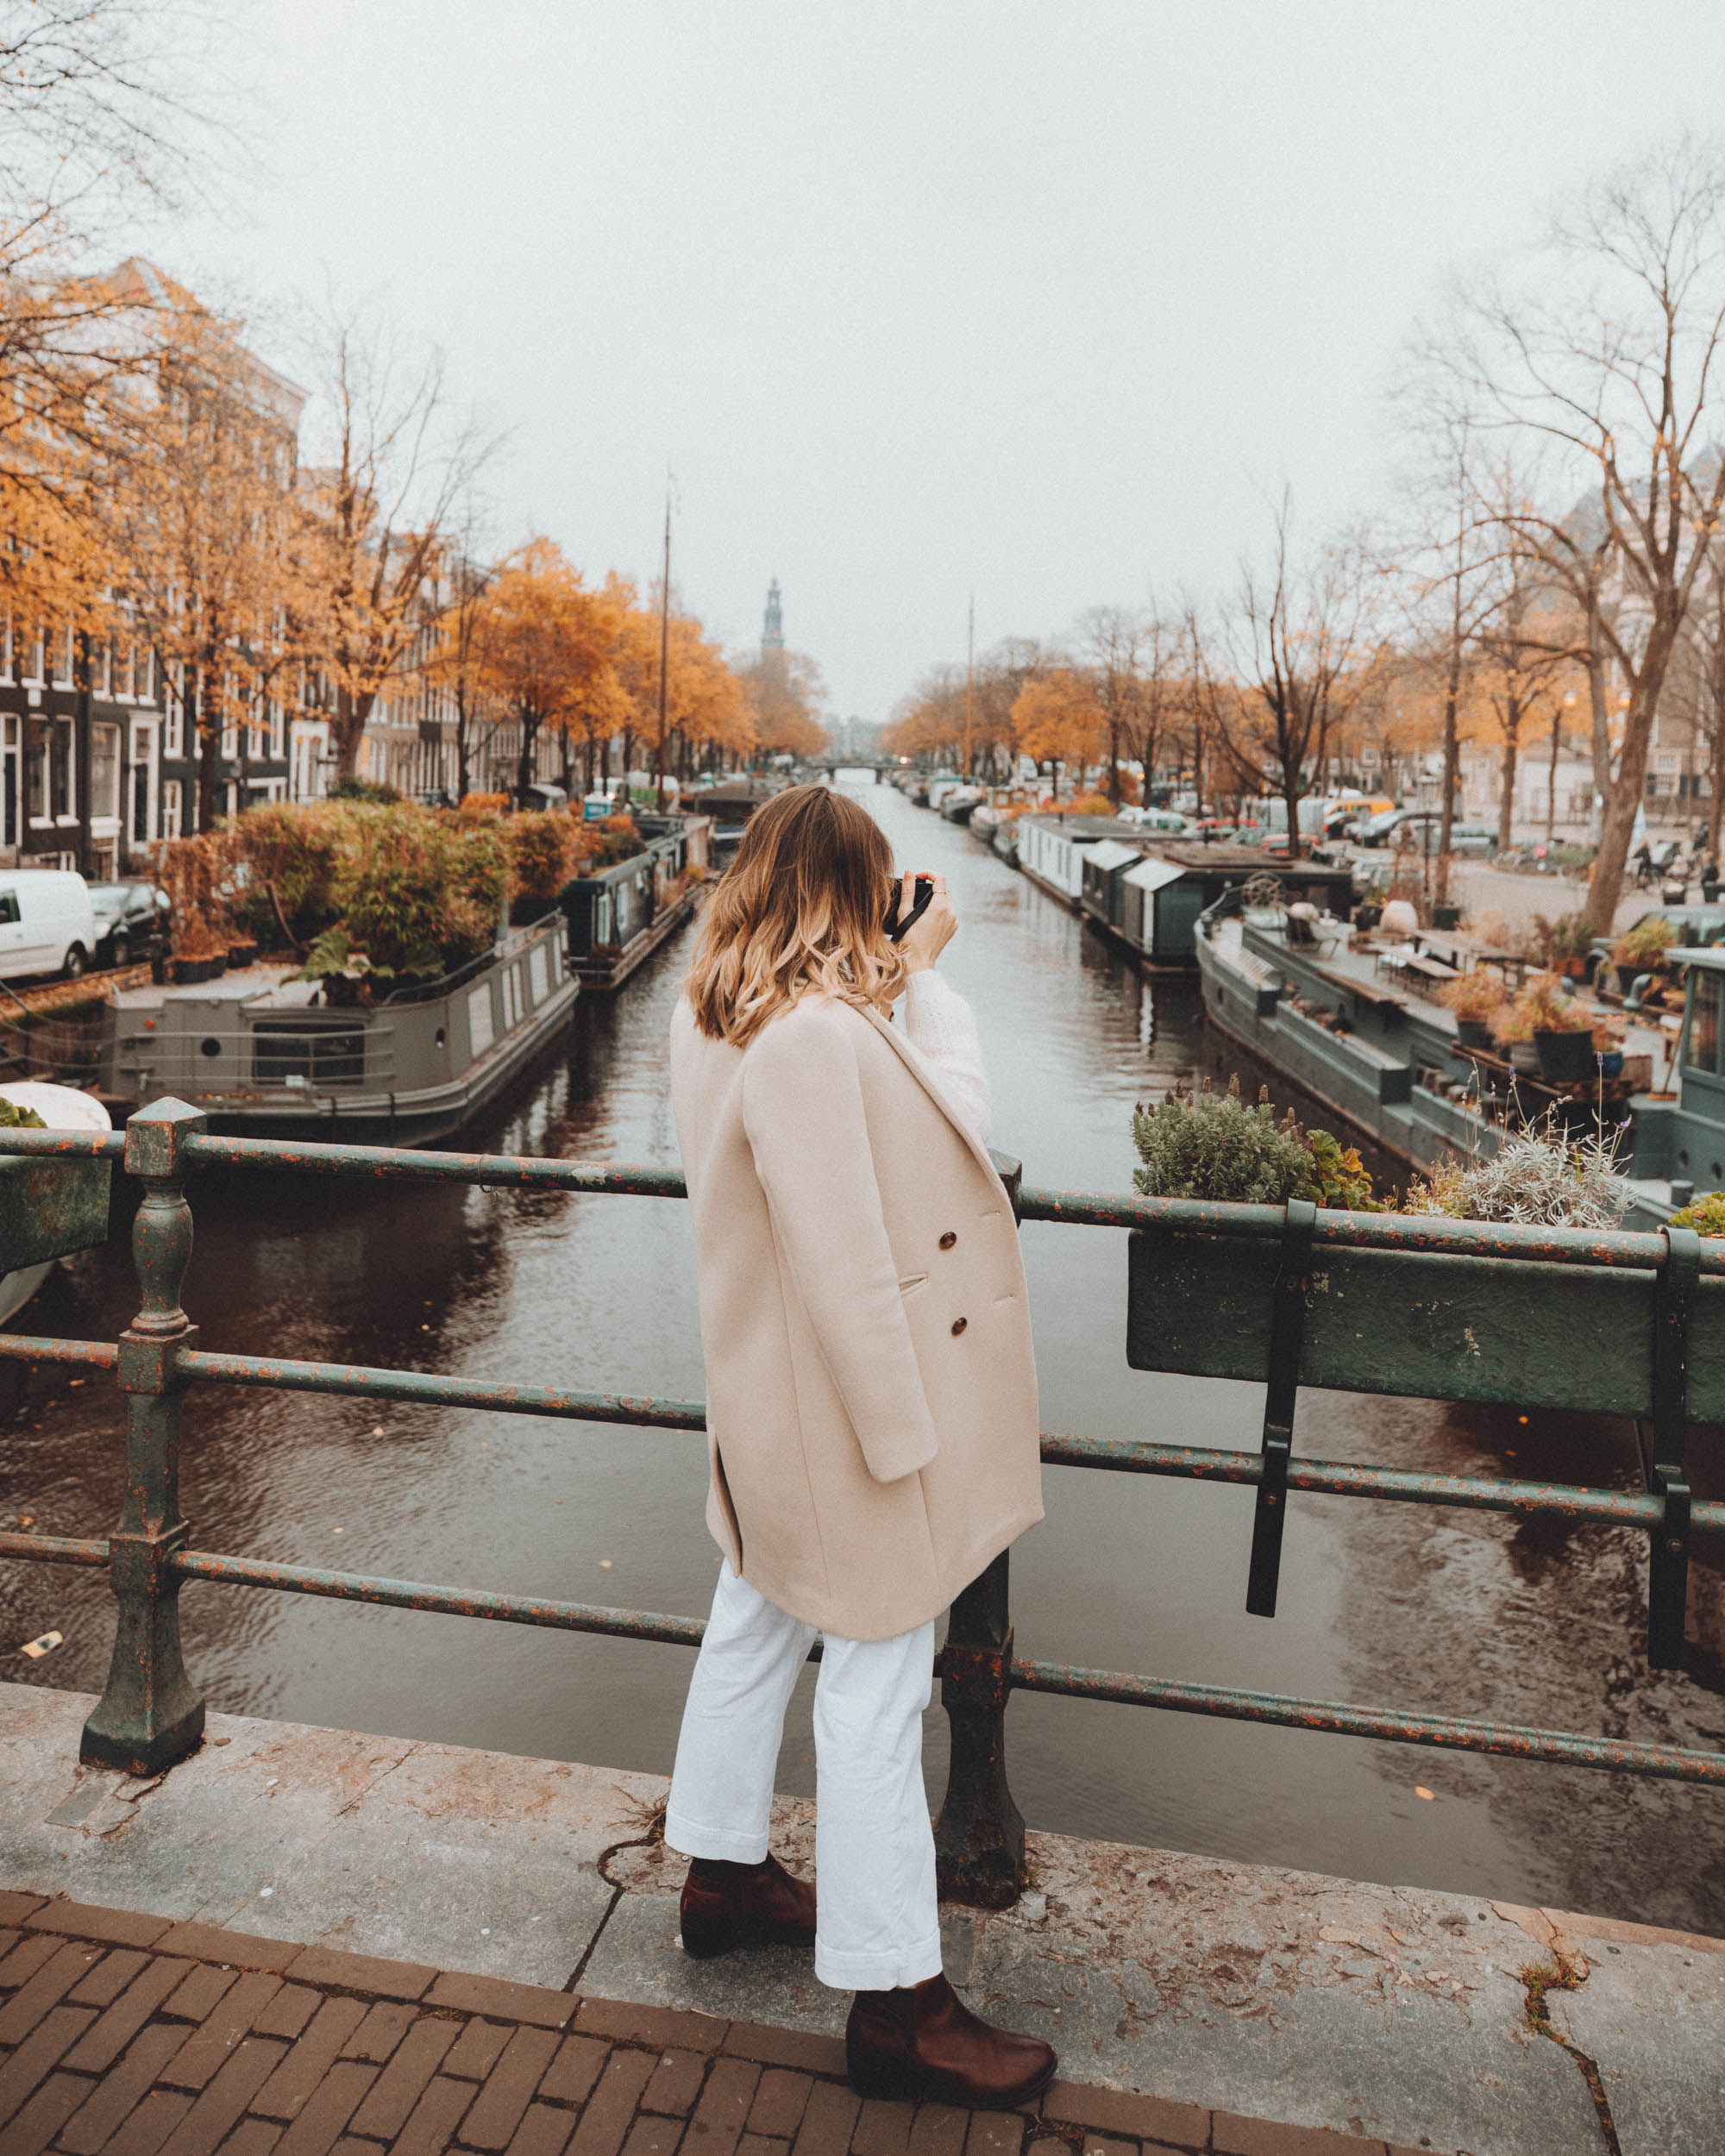
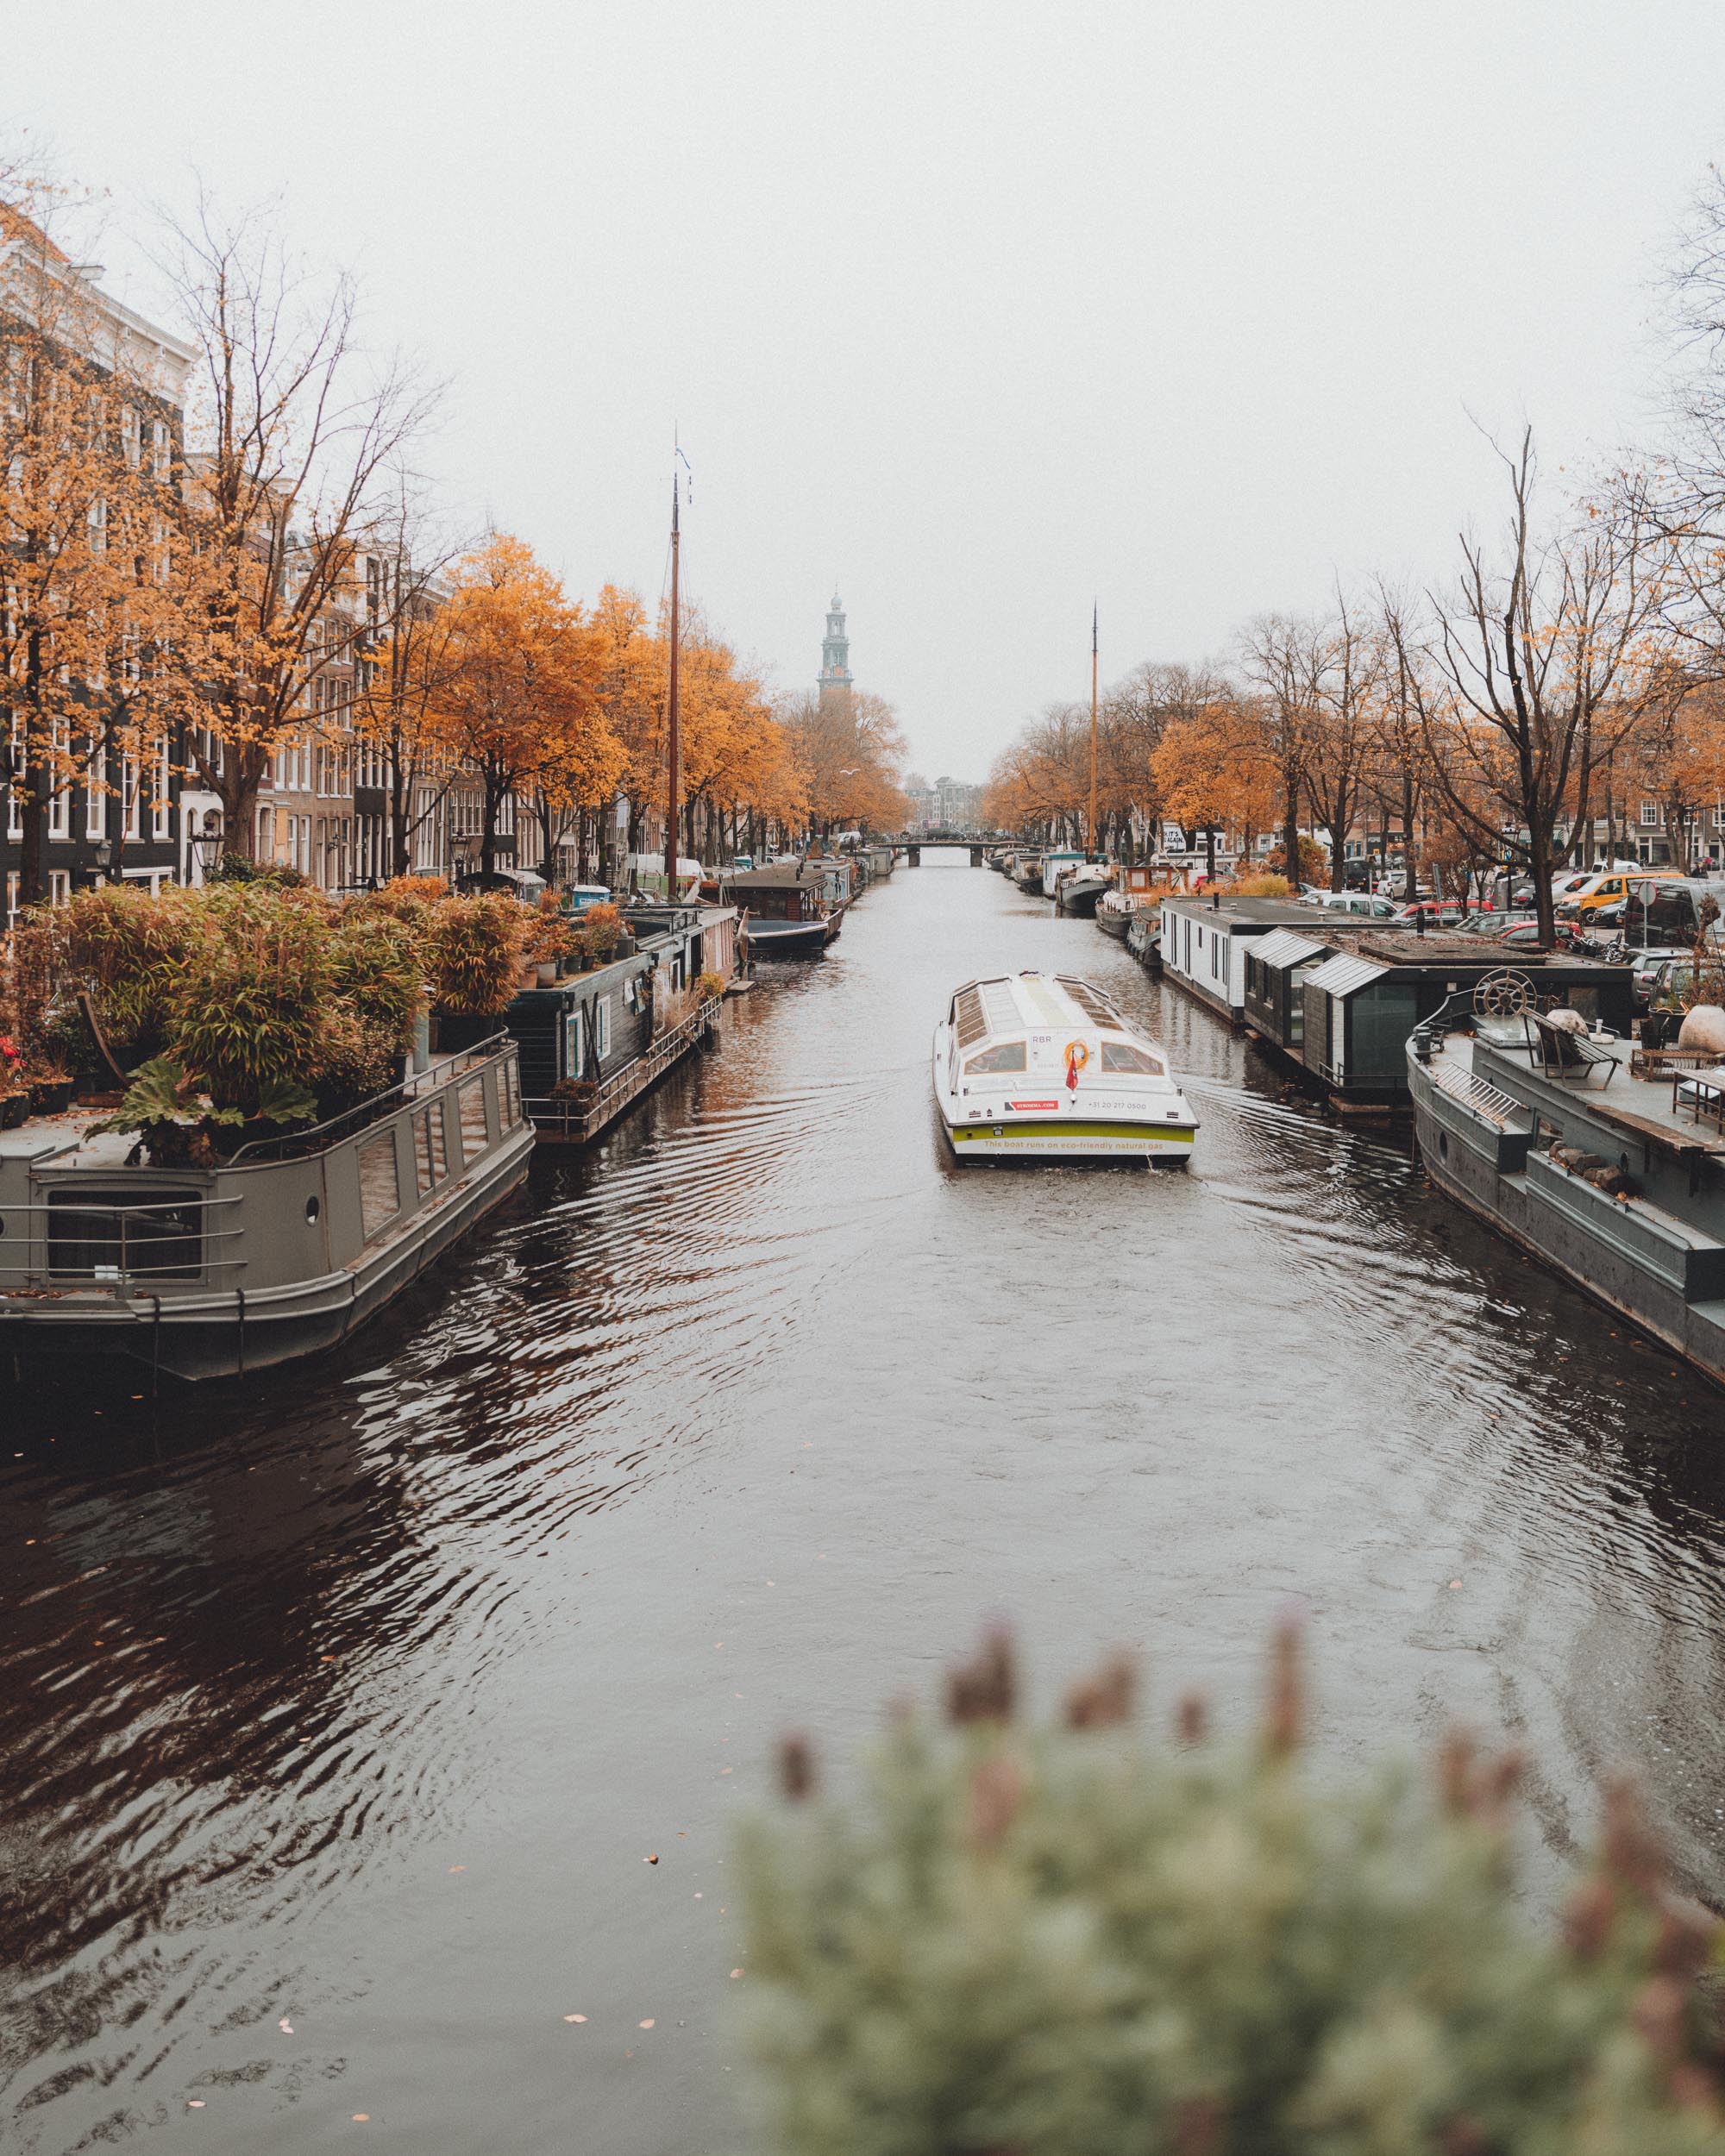
When Jacob and I first left for our 3 month Europe road trip, we had only one hard drive with us and no plans for organizing our travel photos. A lot has changed since then. Since we often travel multiple times a month and take thousands of photos each trip, we’ve had to prioritize photo organization and our editing process. This blog post covers how we stay organized before and after a trip, and how we use Adobe Lightroom to sort and edit photos. If you aren’t familiar with Adobe Lightroom, I recommend checking out their basic tutorials here.
If you’re feeling overwhelmed by the task of photo organization, take my advice: don’t start by organizing old photos. Instead, implement a new system for an upcoming trip (or a trip you recently went on). Once you have a plan in place, you’ll be more likely to follow through on the next trip, and you’ll find it much easier to re-visit your old travel photos as well.
Prior to a trip
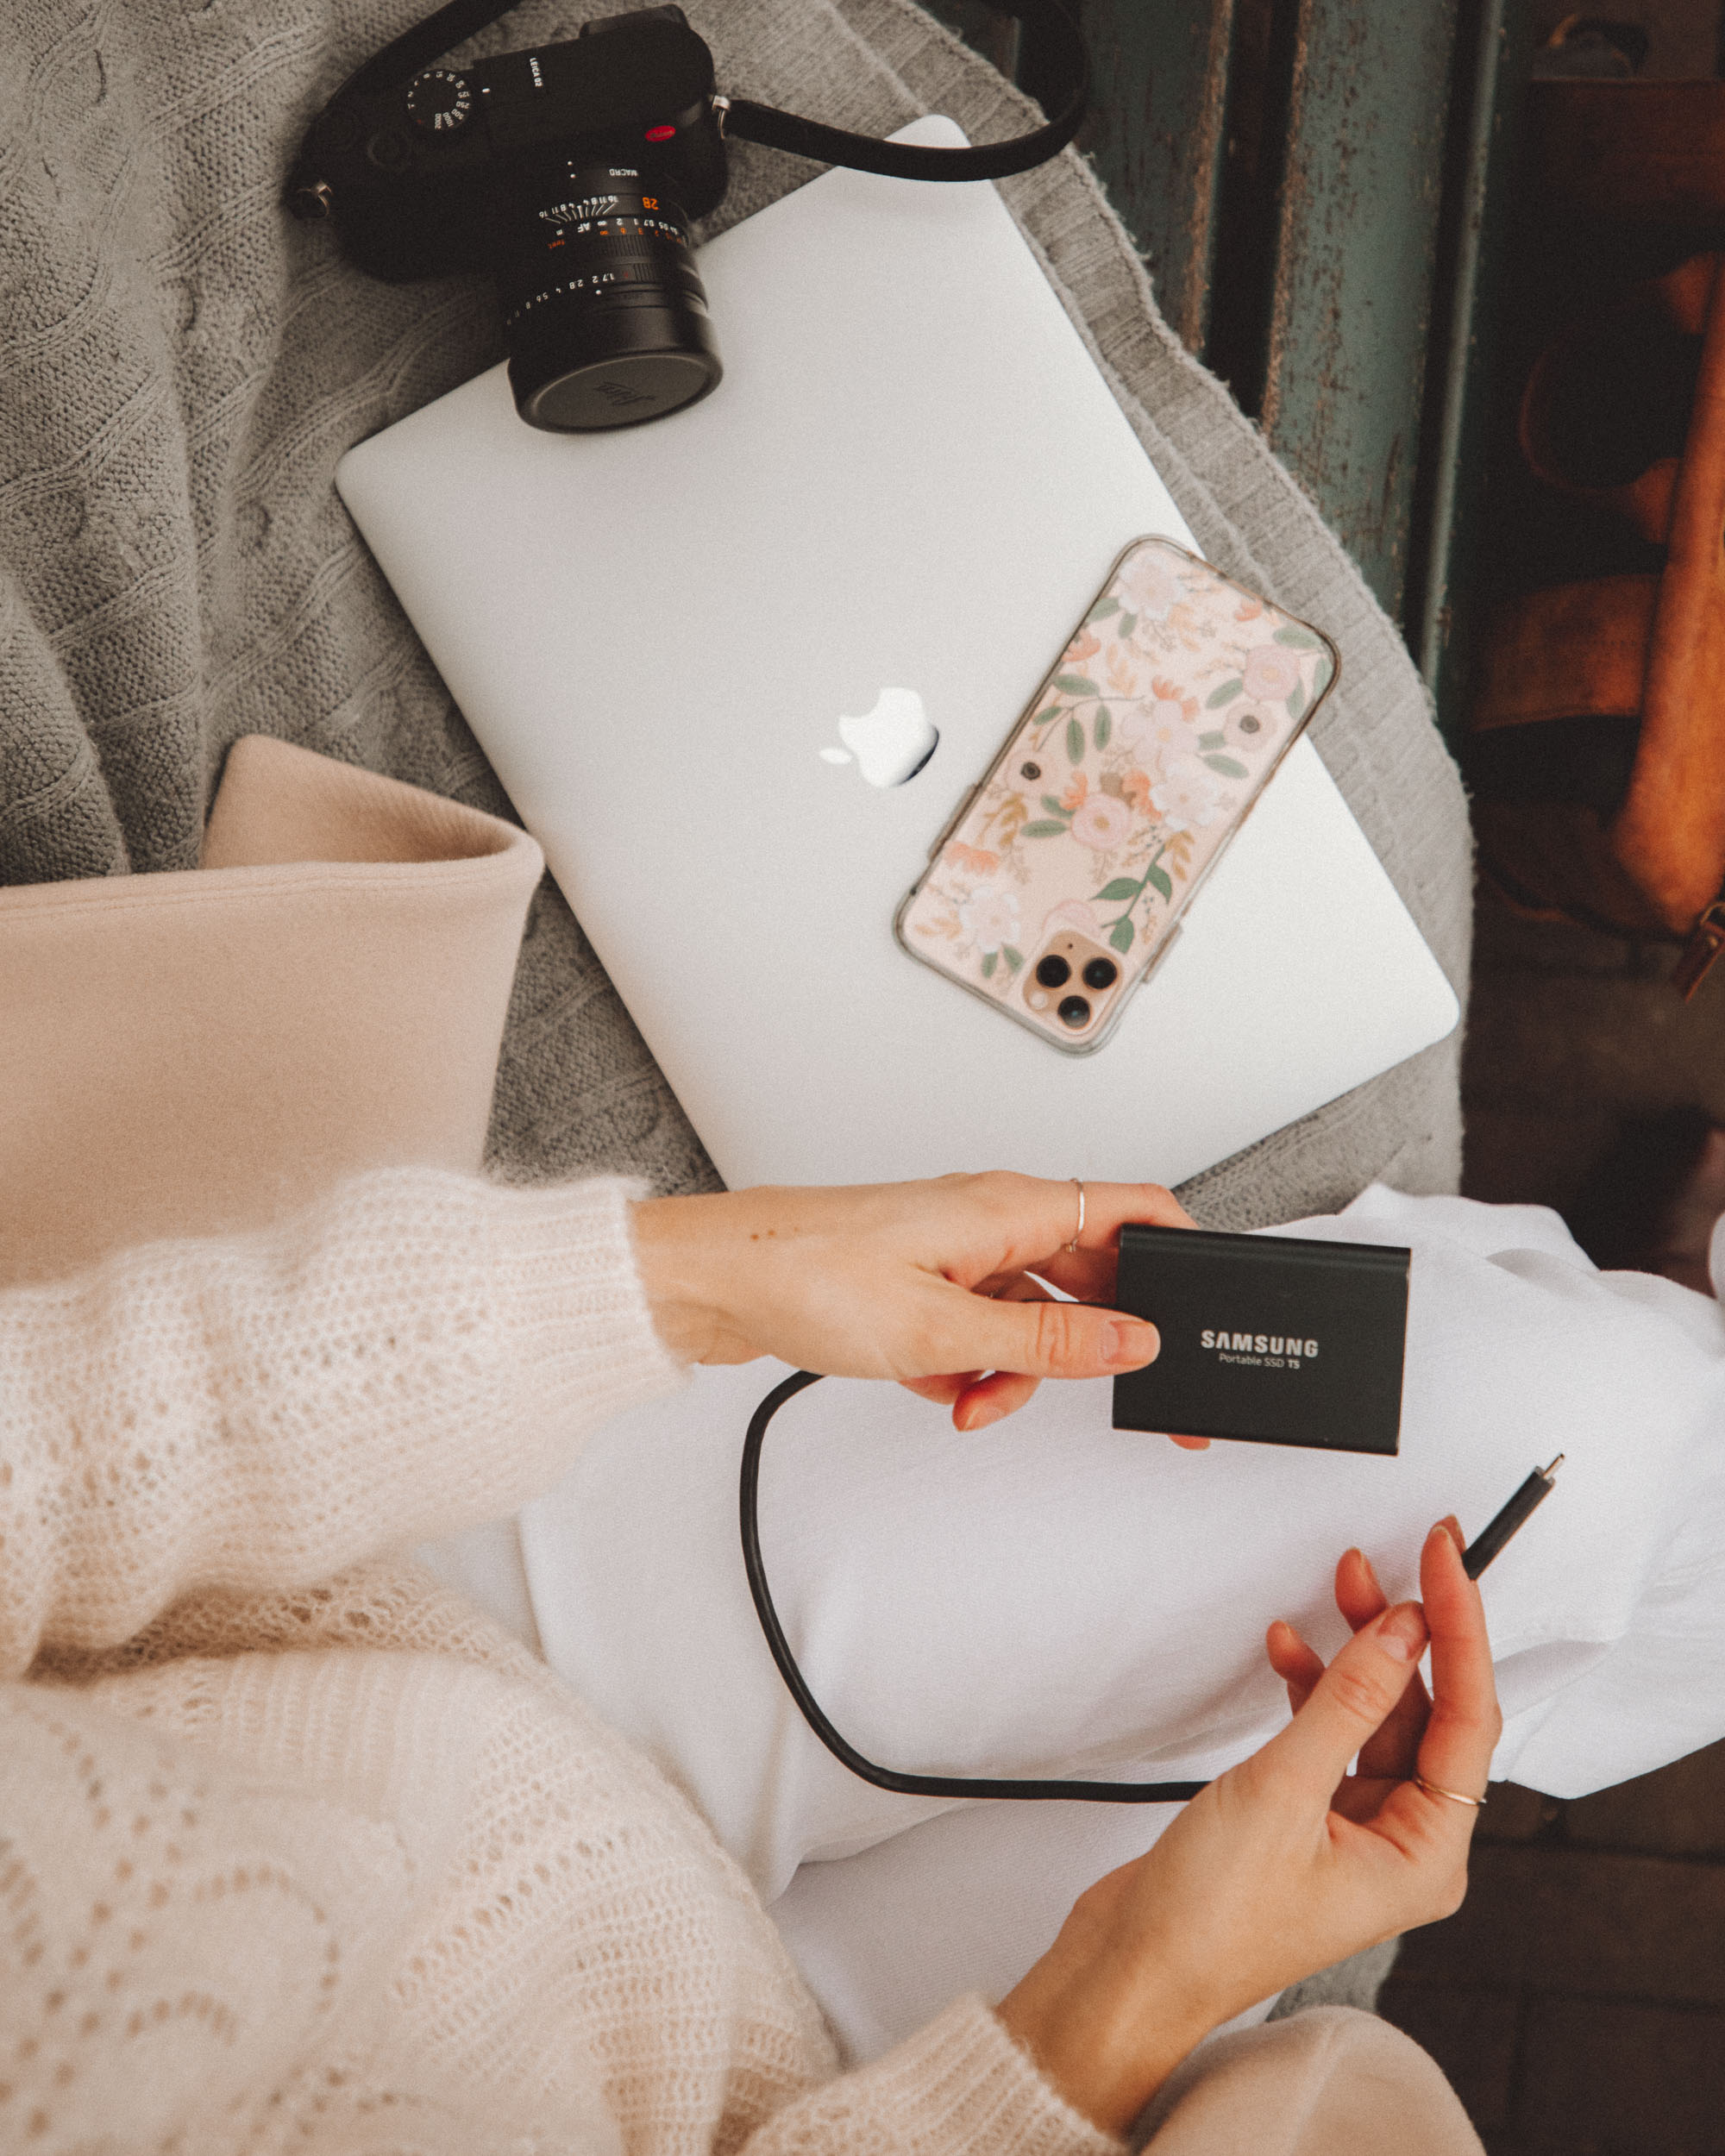
Organization starts with being prepared before leaving on a trip. One of our most-used items (no matter where in the world we are) are our Samsung SSD hard drives. We actually carry 2-3 of these hard drives along with us at any given time, and have started buying the large 2 TB ones. They are small, lightweight, solid state hard drives – meaning they can be picked up or dropped, unlike other hard drives. We have yet to have one fail in the last four years. Here’s what’s on my hard drives right now:
Hard Drive A
- I call this ‘Hard Drive A’ because it’s my main drive, meaning I have it plugged into my computer the most.
- I currently have 3 folders on this drive: Amsterdam 2019, Norway 2019, and India 2019.
- These folders contain the RAW photos (photos straight out of my camera) from each of those trips.
- The first time I ‘dropped’ (imported) my photos after shooting in each destination, I created each of these folders. When I use Lightroom to edit, Lightroom references these folders to source the RAW files. That prevents the photo files from taking up any space on my computer.
Hard Drive B
- I only use this drive if I’ve taken up all the space on Hard Drive A and I’m done editing a project in Lightroom. If that’s the case, I’ll move the corresponding folder on here and mark it with a blue highlight to indicate I’m done editing those photos.
- I currently have 4 folders on this drive: California 2019, France 2019, New York 2019, Sweden 2019.
- If I want to source an old RAW photo that I never edited, or if I need to export a file type I don’t already have, I’ll plug this drive in.
While on a trip
I have one main Lightroom catalog that I edit from, called my FUL Master Catalog. This catalog lives on my computer, and sources RAW photos from my hard drives when they are plugged in. I back it up to Dropbox whenever I close out of it (you can set Lightroom to do this automatically). If I open the catalog without a drive plugged in, it will say ‘The file could not be found’. This is because my RAW files are located on the hard drives I mentioned above. Since RAW photos are large files, keeping them on hard drives means they never take up space on my computer or slow it down.
While traveling, I try to ‘drop’ photos every night. This means I plug in my hard drive, open Lightroom, and import the photos I shot that day.
- You can also do this every time you change locations on a trip, or at the end of each trip once you return home. Come up with a system that works for you. Be mindful of space left on your memory card. We always travel with multiple memory cards, and we don’t clear them until we’ve come home from a trip and backed up the photos.
We always import photos directly into Adobe Lightroom so we can organize them right away. The first time I import photos on a trip, I create a new folder that lives on Hard Drive A. For instance: Norway 2019. Here’s my general Lightroom workflow:
- In Lightroom, I create a new ‘Collection Set’ under my 2019 Collection Set and title it Norway 2019 to match. If I know I’ll be in multiple locations and I want to divide up the photos further, I’ll create an additional Collection Set such as Lofoten 2019.
- Within Norway 2019 > Lofoten 2019, I create a ‘Collection’ that corresponds to the photos I’m dropping and the day of the trip. For example, Day 1 – Nusfjord.
- When I import photos in Lightroom, I always ‘copy’ photos, I don’t import duplicate photos, and I import to a specific collection. In this case, that collection will be Day 1 – Nusfjord.
- Here’s an example of how I organized photos in Lightroom from our recent trip to Norway:
2019 (Collection Set)
Norway 2019 (Collection Set)
Lofoten 2019 (Collection Set)
Day 1 – Nusfjord (Collection)
Day 2 – Reinebringen (Collection)
…and so on
Selecting photos to edit
After my photos have imported into Lightroom, I go through and assign 3 stars to any photos I like. If there are a few shots I like from the same location, I assign them all 3 stars. I don’t overthink this part, because I can always go back and narrow these down further.
- Once I’ve gone through all photos, I review all my 3 star photos starting from the beginning. This time I bump my favorite photos from here to 4 stars. I will eventually edit by applying our Lightroom presets to all of my 4 star photos, and exporting these. This process has been the most useful for me because I can always reference my pre-filtered 3 star photos if I’m in need of more photos.
- To edit, I hover over my presets while an image is selected so I can see a preview of what the preset will look like when applied to a photo. I click to apply the preset I like best, then make any tweaks to the edit before moving on to the next photo. The only thing I adjust prior to applying a preset is exposure.
- If there’s a photo I really love while editing, I bump it to 5 stars. These are the photos that I will often share on Instagram or on my blog, and sometimes I’ll export them first.
- For more on our editing process in Lightroom, read this post on How We Shoot and Edit Photos.
Shop my Lightroom photography presets
Exporting photos
When I’ve gone through and edited all my photos, I’ll export all my 4 star and 5 star photos onto my computer. I always export photos with a couple different settings. This is necessary for me because I need a small image size when uploading to my blog, but a larger image size for Instagram. I also may need a high resolution image for the future if I want to sell the image. You may only need one image size depending on what you use your photos for.
Here are the folders I create for every destination I take photos in and export photos from:
Blog Export (750K) – this is where I do my final export of all my 4 star photos, formatted for my blog. For this, I limit the file size to 750K and my image width is set to 2000 pixels, to fit my blog dimensions.
Blog Posts – If I’m writing a blog post for a destination, I’ll export photos here and name the files with the name of the blog post for SEO purposes. I use the same export settings as above.
Instagram Export (2000p) – this is where I do my final export of all my 4 star photos, formatted for Instagram. For this export I don’t limit the file size, but I keep my image width at 2000 pixels. Instagram’s width is 1080, but I find this gives me flexibility if I want to crop later on or use these photos elsewhere.
Instagram Posts – this is where I typically export a few 5 star photos while editing to preview them. I’ll often Airdrop photos from this folder to my phone. I use the same export settings as above.
Before/After – I export a few photos with edits I like here, so I can share them on my @finduslostpresets account. I use the same export settings as above.
- I don’t export my highest resolution photos onto my computer, but rather my hard drives once I’m home. This way I have large photo files that I can access if I ever need them to sell to a client or publication.
- We never delete photos! This may seem crazy, but you never know when you’ll want a photo. It takes time to delete and drive space is becoming more and more affordable these days, so in our opinion it’s not worth the trouble to delete.
- Once I’ve exported all my photos from a trip, I’ll mark the corresponding folder with the RAW photos on Hard Drive A with a blue highlight. That means I’m finished with that destination, and I can now back up those photos and move the folder to Hard Drive B.
Backing up photos
At any given time, we always have a back up of our photo files. This is SO important! You never know when something will go wrong, and losing those memories forever can be heartbreaking. In general, your photos should be backed up in two locations. The first location should be in a place you can access. The second location should be a failsafe back up, meaning you would only ever use it in a worst case scenario (i.e. a fire or break-in). The second back up should be kept separate from your other one for that reason.
Keep in mind when I first import photos in Lightroom from a trip and put them on Hard Drive A, I also don’t delete them from my memory card. So when I’m traveling, I always have two copies: on Hard Drive A, and on the memory card that’s in my camera. When I return back home, I use the below protocol to back up photos. Unless you take photos as part of your job, you likely don’t require as much space as we do, so we’ve provided alternate recommendations.
Main Back Up Drive Recommendations
Samsung Hard Drive – these drives can be used as a back up drive if you don’t have many photos, less than 1 TB. (I use these drives to work off of at home and while traveling, not as a back up.)
G-Raid Drive – if you have between 1-10 TB of photos. You can also work directly off of this drive.
Synology Diskstation & Drives – if you have more than 10 TB of photos. This drive is not designed to be worked from, so you always need to copy a folder off if you want to edit it. (This is what we use as a back up drive.)
Failsafe Back Up Drive Recommendations
Cloud based, Dropbox or Google Drive – if you have 1-2 TB of photos.
Cloud based, Backblaze – if you have up to 10 TB of photos. Though Backblaze allows for unlimited storage, the upload times are quite slow, so it can be impractical after 10 TB.
Synology or another physical hard drive – if you have more than 10 TB of photos. (We’re currently in the process of switching from Backblaze to Synology).
- Note that both G Raid and Synology use RAID technology, meaning they have multiple hard drives inside. Data is split across them so if any one drive fails, the data isn’t lost. If you need over 10 TB of storage space, I recommend watching this video tutorial for more info on Synology.
- To back up photos: I copy and paste the folder from Hard Drive A (i.e. Norway 2019), and wait for it to copy over to our main back up drive. I then pull up the information for each folder and compare the folder sizes to make sure everything copied over. Only then do I delete the folder off of Hard Drive A. With Synology drives, you can set them to automatically back up at a given time. Our Synology main drive will wirelessly back up to our Synology failsafe drive every night.
Final Tips + Product Recommendations
It’s so important to have extra memory cards, hard drives, and even camera batteries on a trip. Jacob has always been good about this, and his habits have definitely rubbed off on me! Here’s a round-up of the items mentioned above and alternate recommendations:
- Here are the Samsung hard drives we use most frequently. They come in 500 GB, 1 TB, and 2 TB sizes. I’ve recommended these to friends and family over the years, as they’ve become integral to our photo organization process.
- Here is a link to Adobe Creative Cloud, including Adobe Lightroom. In our opinion, Lightroom is by far the best program out there for photo editing and organization. You can also purchase our Lightroom presets for quicker photo editing.
- Here are the memory cards we use for our camera. We always travel with 2-4 memory cards. These are professional memory cards so they are much faster than normal cards. If you want something comparable but more affordable, we’d recommend these memory cards.
- Here is the Synology diskstation we use to back up photos, and here are the corresponding drives. As I mentioned, this is a professional set up and necessary only if you have more than 10 TB of photos. If you have less than 1 TB of photos, you could use the same Samsung Drives as a back up or this G-Raid Drive if you have 1-10 TB of photos.
- For more about the camera gear and photography accessories we travel with, read this post on Our Travel Photography Gear.
—
Questions about photo organization? Leave a comment below and we’ll do our best to advise!
Note: this post contains affiliate links to products we love and have purchased ourselves. Clicking or purchasing items from these links doesn’t cost you anything extra, and you’re supporting us by doing so. You can view our disclosure page for additional details.

Laurence Goldman Says
Thanks Selena: Very helpful post.
(+1 to the other questions)
1. All over YouTube the consensus is one everything LR catalog slows LR down. Now it seems by using the Samsung LR is actually using only the local sub-collection, so the computer isn’t clogged up? I’m confused on this issue.
2.How come you don’t use Bridge or PhotoMechanic to sort?
3.Since when did Sony gear get Red Dots?
4. Perhaps you could expand a little on RAID storage? Some people use RAID 0 to work from, e.g. It also brings up question-if you’re working from external drives, do you really need a computer with massive internal storage? Especially with what Apple charges for upgrades?
5.Does Video change these parameters?
Selena Says
Post authorHi Laurence! Answers below.
1. It’s possible, but it in our experience it hasn’t made a noticeable difference. There is also a question of organized convenience vs speed and finding the right balance.
2. Because moving across multiple applications to sort and edit is time consuming and not as efficient. Additionally, they don’t have the full capabilities that Lightroom has.
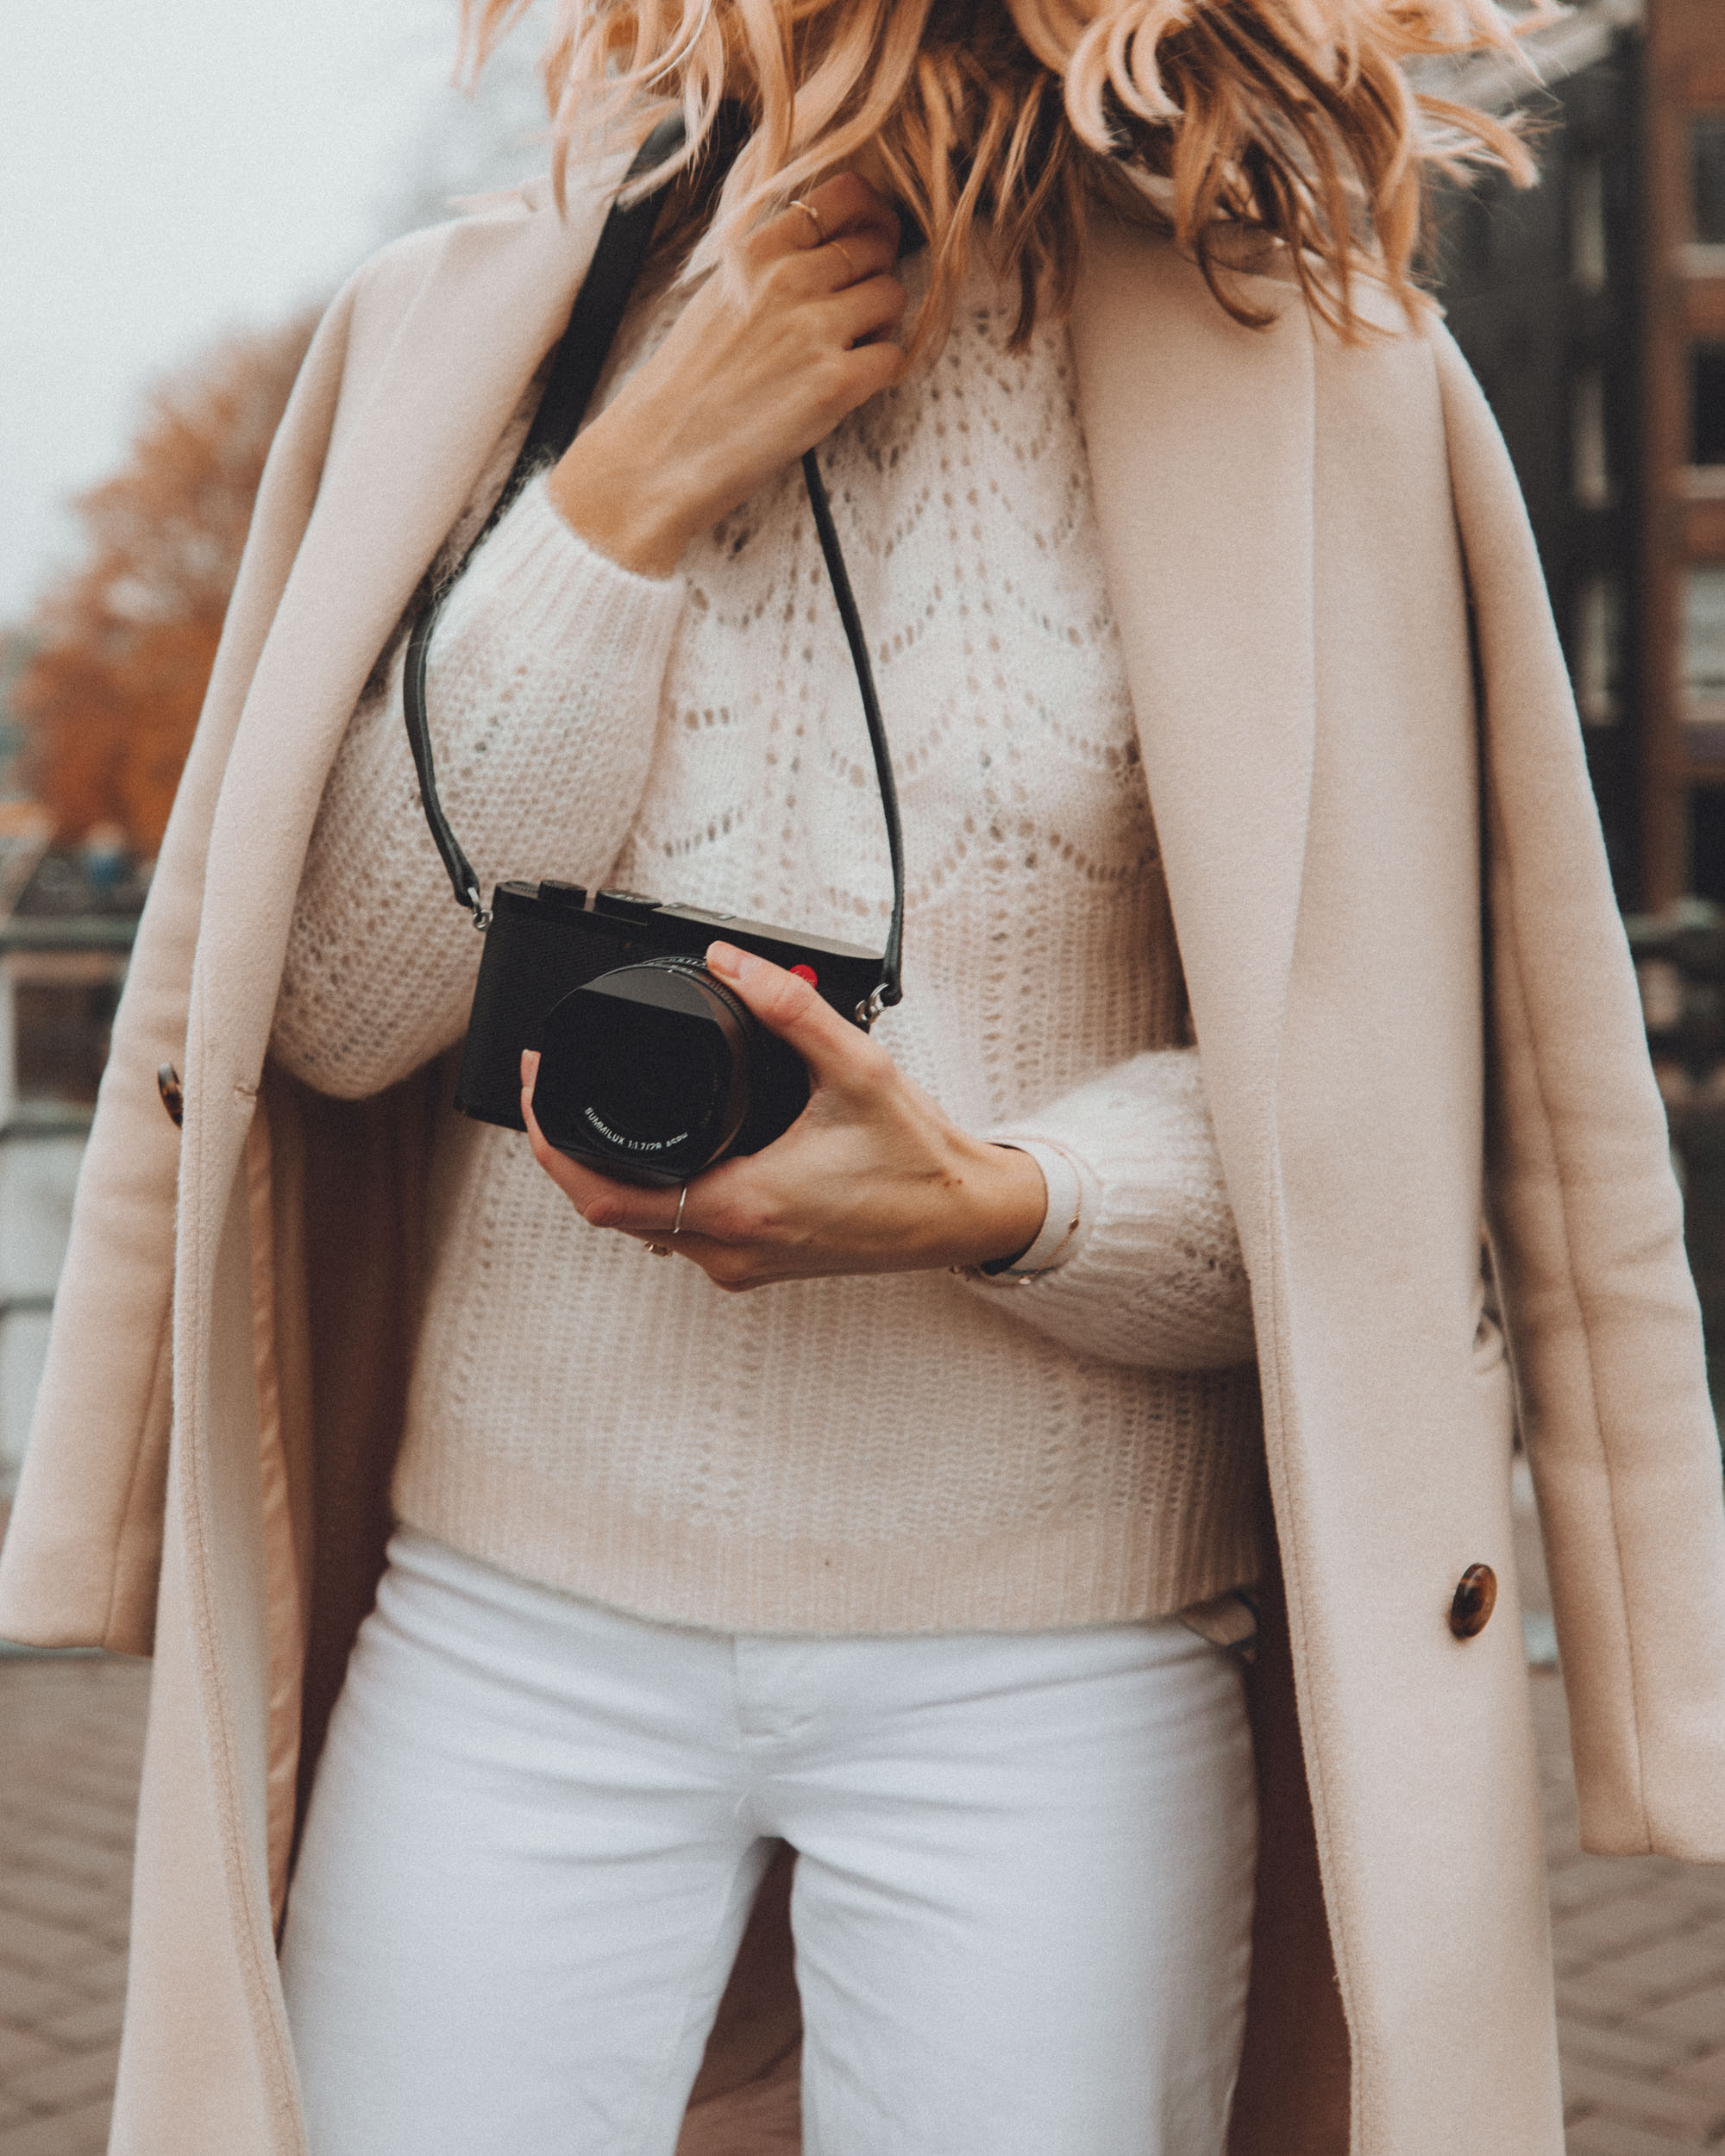
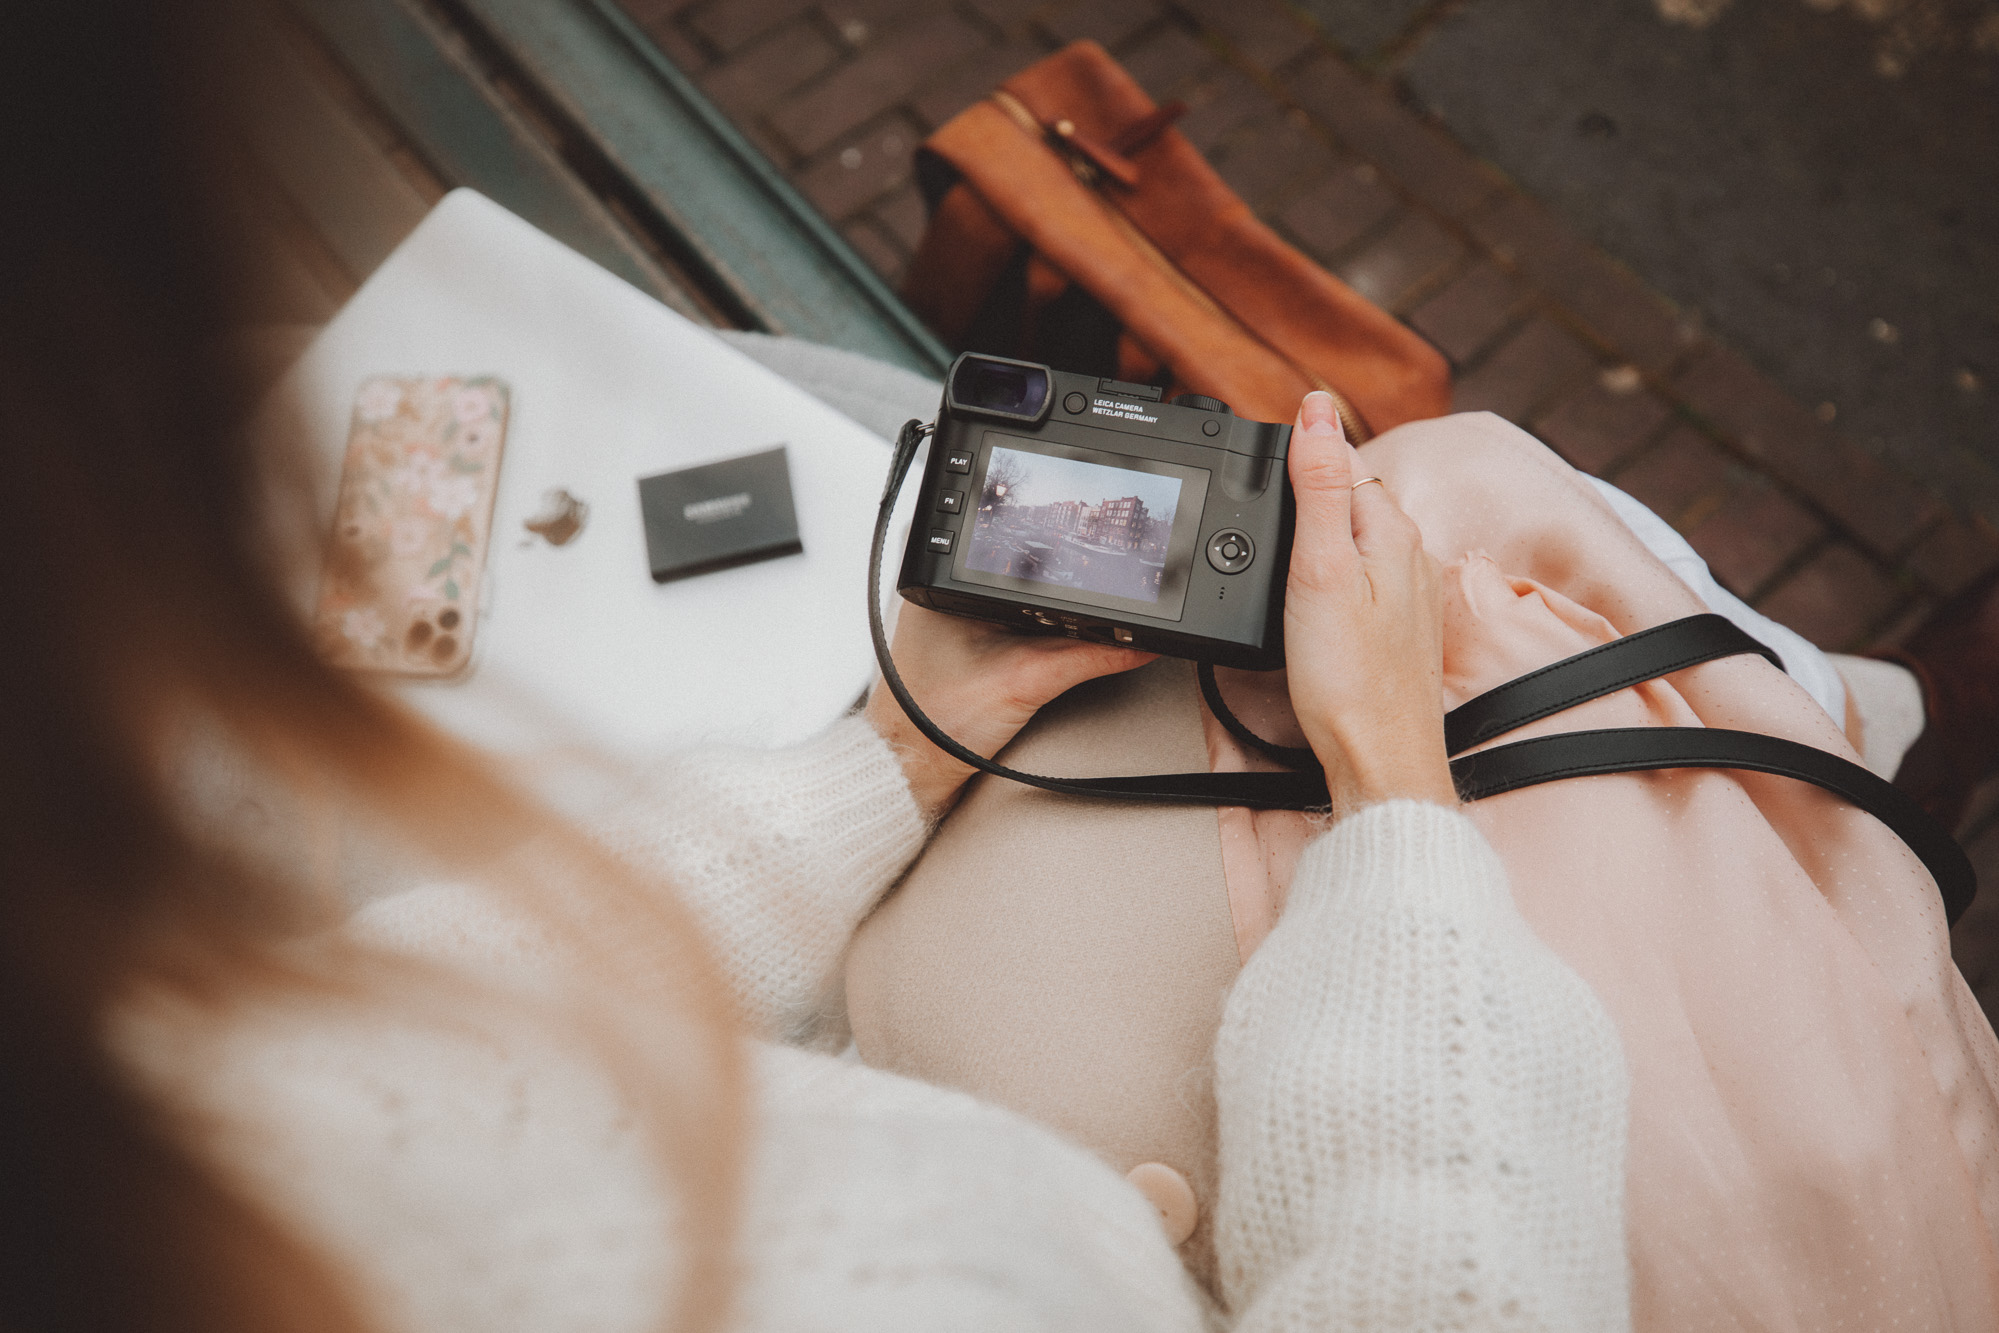
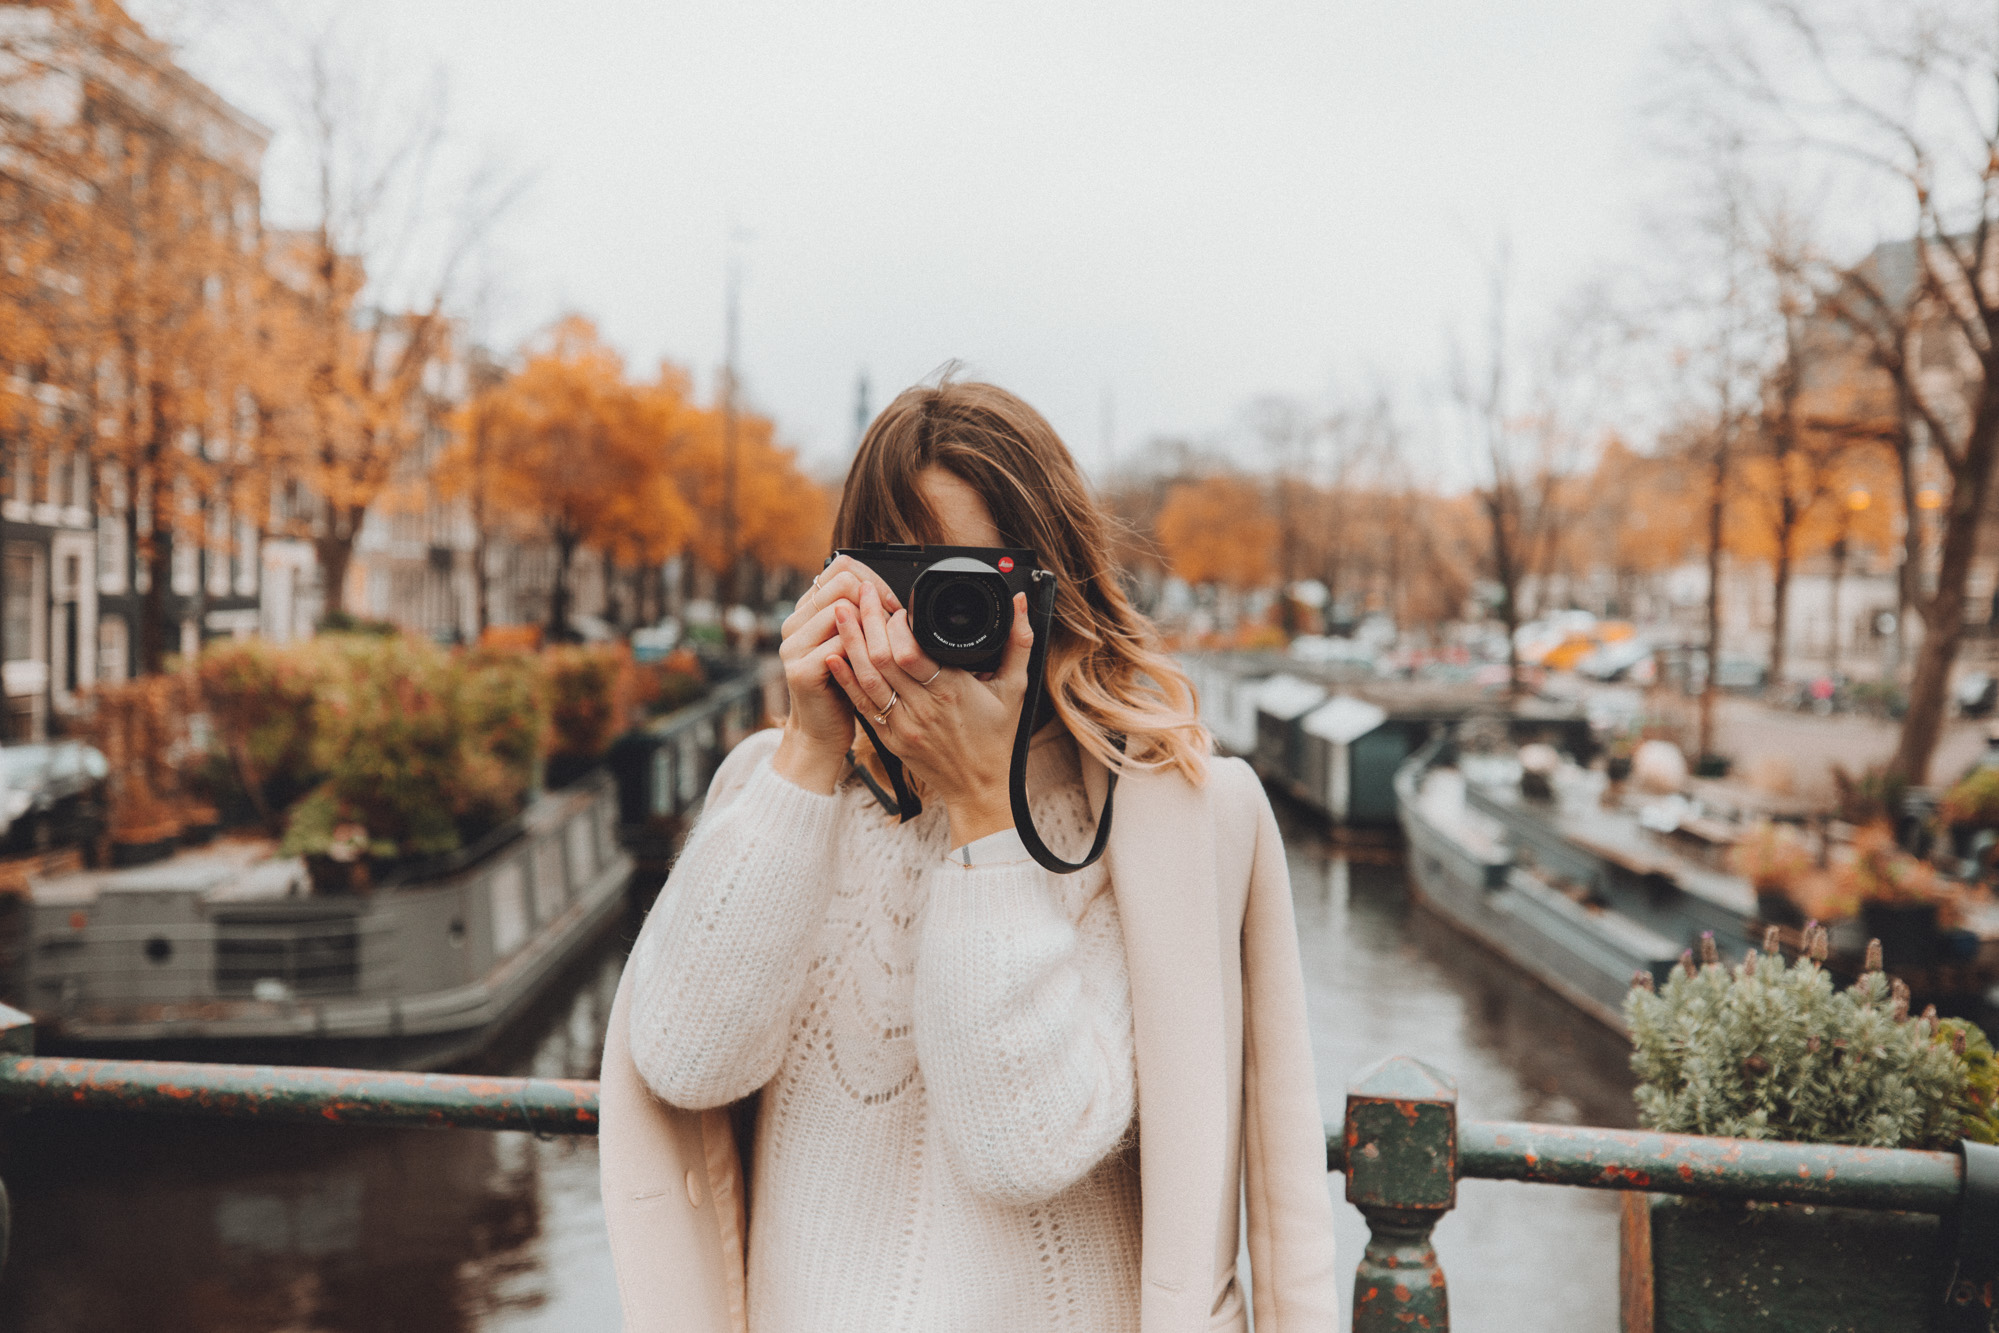
3. I think you’re talking about the camera pictured in this blog post? It’s a Leica Q2, not sony camera.
4. I would say you don’t need a lot of internal storage, if you take lots of photos then you’ll need external drives and it’s better for organizing backups. RAID 0 is for speed, it has no parity (backup) built in, so if one drive fails you lose everything. RAID 1 & RAID 5 offer single drive failure, this is what we use.
5. Which parameters? Using the Samsung SSD as a working drive is great for video because the read/write speeds are really good. But that’s also useful for Lightroom. I don’t think it changes parameters much.
Mel Says
Thanks so much for all of this info. I still haven’t found the perfect way to store and backup photos, and this is really helpful. One question though, once you move your folder of photos from hard drive A to hard drive B, don’t you lose all of the edits in Lightroom because in the catalog they’re mapped to a different place? You’ve got your edited photos exported in various formats and you can still pull up the RAW version in Lightroom, but can you go back to the edited version?
Selena Says
Post authorGood question! Since the folder layout is still the same it doesn’t matter too much; if they become ‘un-synced’ i can always have Lightroom locate one photo file and it will figure out the rest are there. Keep in mind I only really move a folder to Hard Drive A if I’m done with it or if I’ve completely run out of space (like when we were traveling for 8 months straight!), so typically I don’t open those Lightroom projects again, since I’ve usually exported the photos already. Make sense?
Emily Says
Hi Selena! Do you back up all your raw photos or just the edited ones? And when you’re doing the Lightroom exports, do you create new sub-folders on Hard drive A? Then eventually move them over to Synology as well? Thanks 🙂
Selena Says
Post authorHey Emily! Yes all our raw photos are backed up in 2 places – while traveling we have them on a memory card and I import them every night into Lightroom, while creating that corresponding folder where they live on my Samsung SSD drive (i.e. Norway 2019 on Hard Drive A). When we get home we back up to our Synology drives after I’ve finished going through all the photos from the trip.
Regarding exporting – when I export the edited photos from Lightroom, I save them in that folder hierarchy (the 5 folders above I mentioned with blog export, Instagram export, etc), and those I export straight into Dropbox (not on a drive). This way I can access them anywhere, they’re always on my computer, and they don’t take up much space since they are sized down accordingly into JPEGS, not RAW files.
Let me know if you have more questions!
Katherine Says
Helpful post! I have a Lacie drive that holds pretty much everything. Lots of folders! lol.
Selena Says
Post authorYes, we’ve been there (and with a Lacie)!
Michael @ Mile in My Glasses Says
Loved this post, Selena! So useful with really great tips and advice. Thanks for sharing!
Michael
Selena Says
Post authorGlad it was useful, thanks Michael! xx